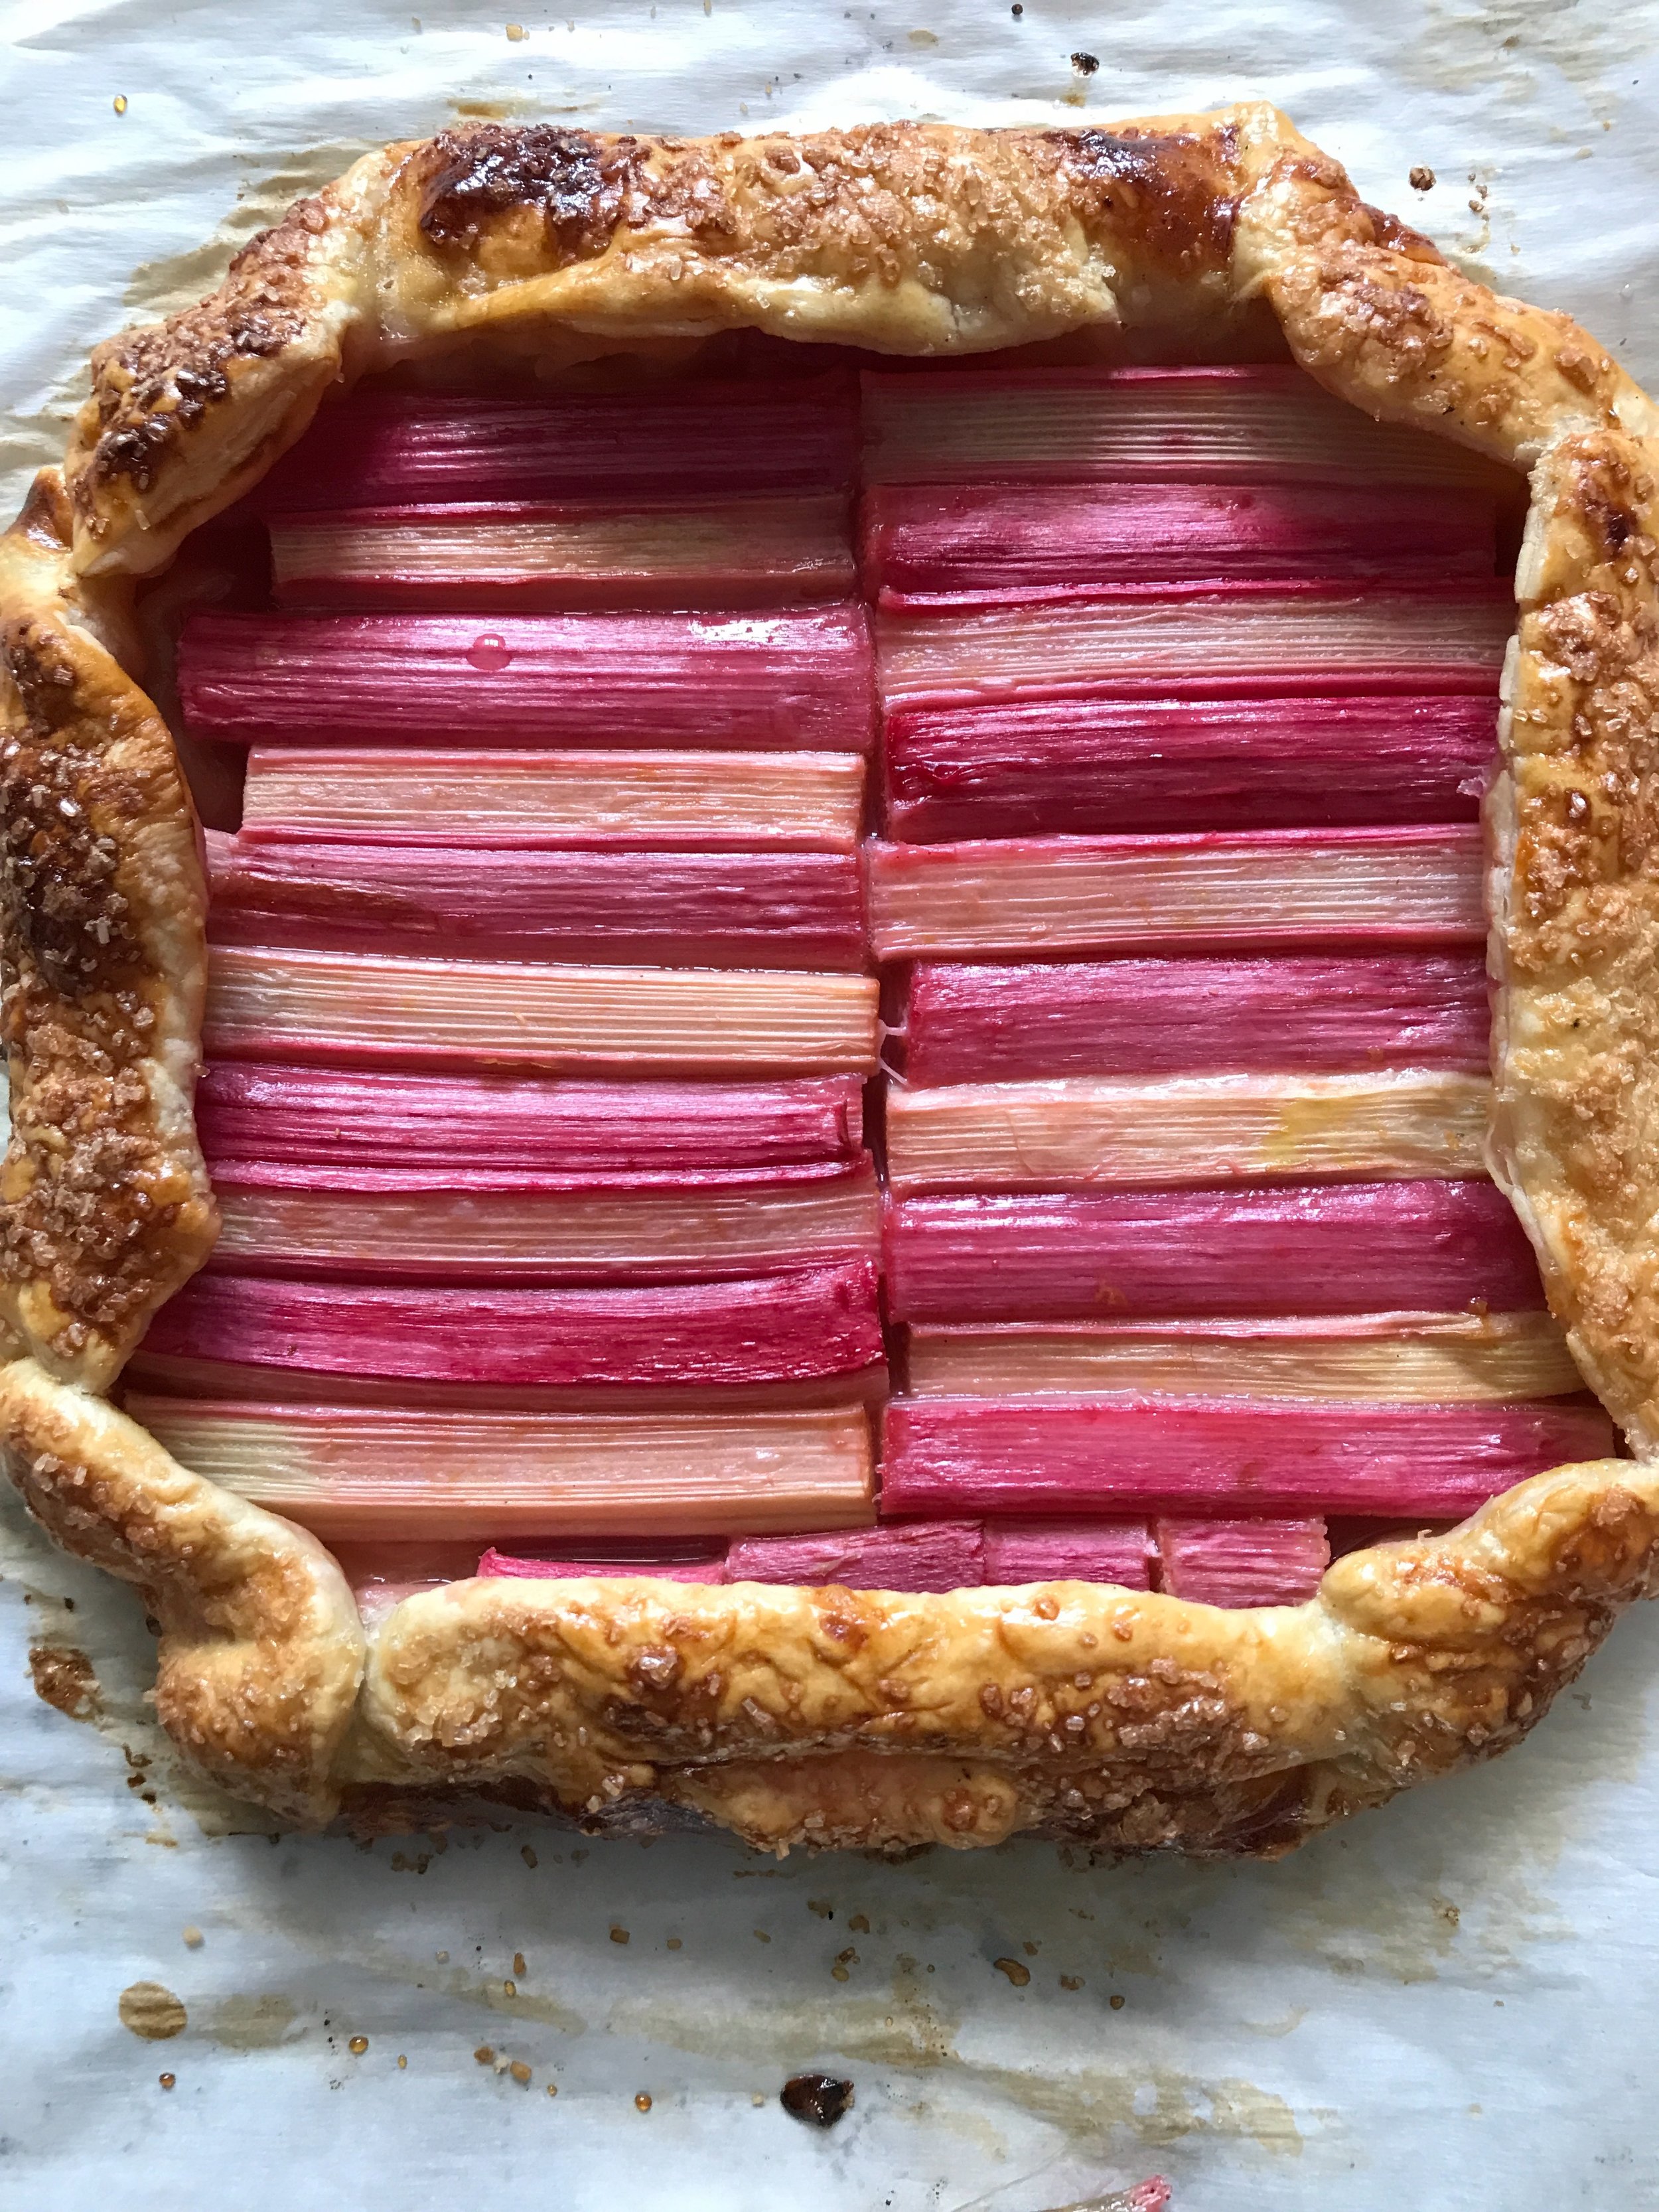
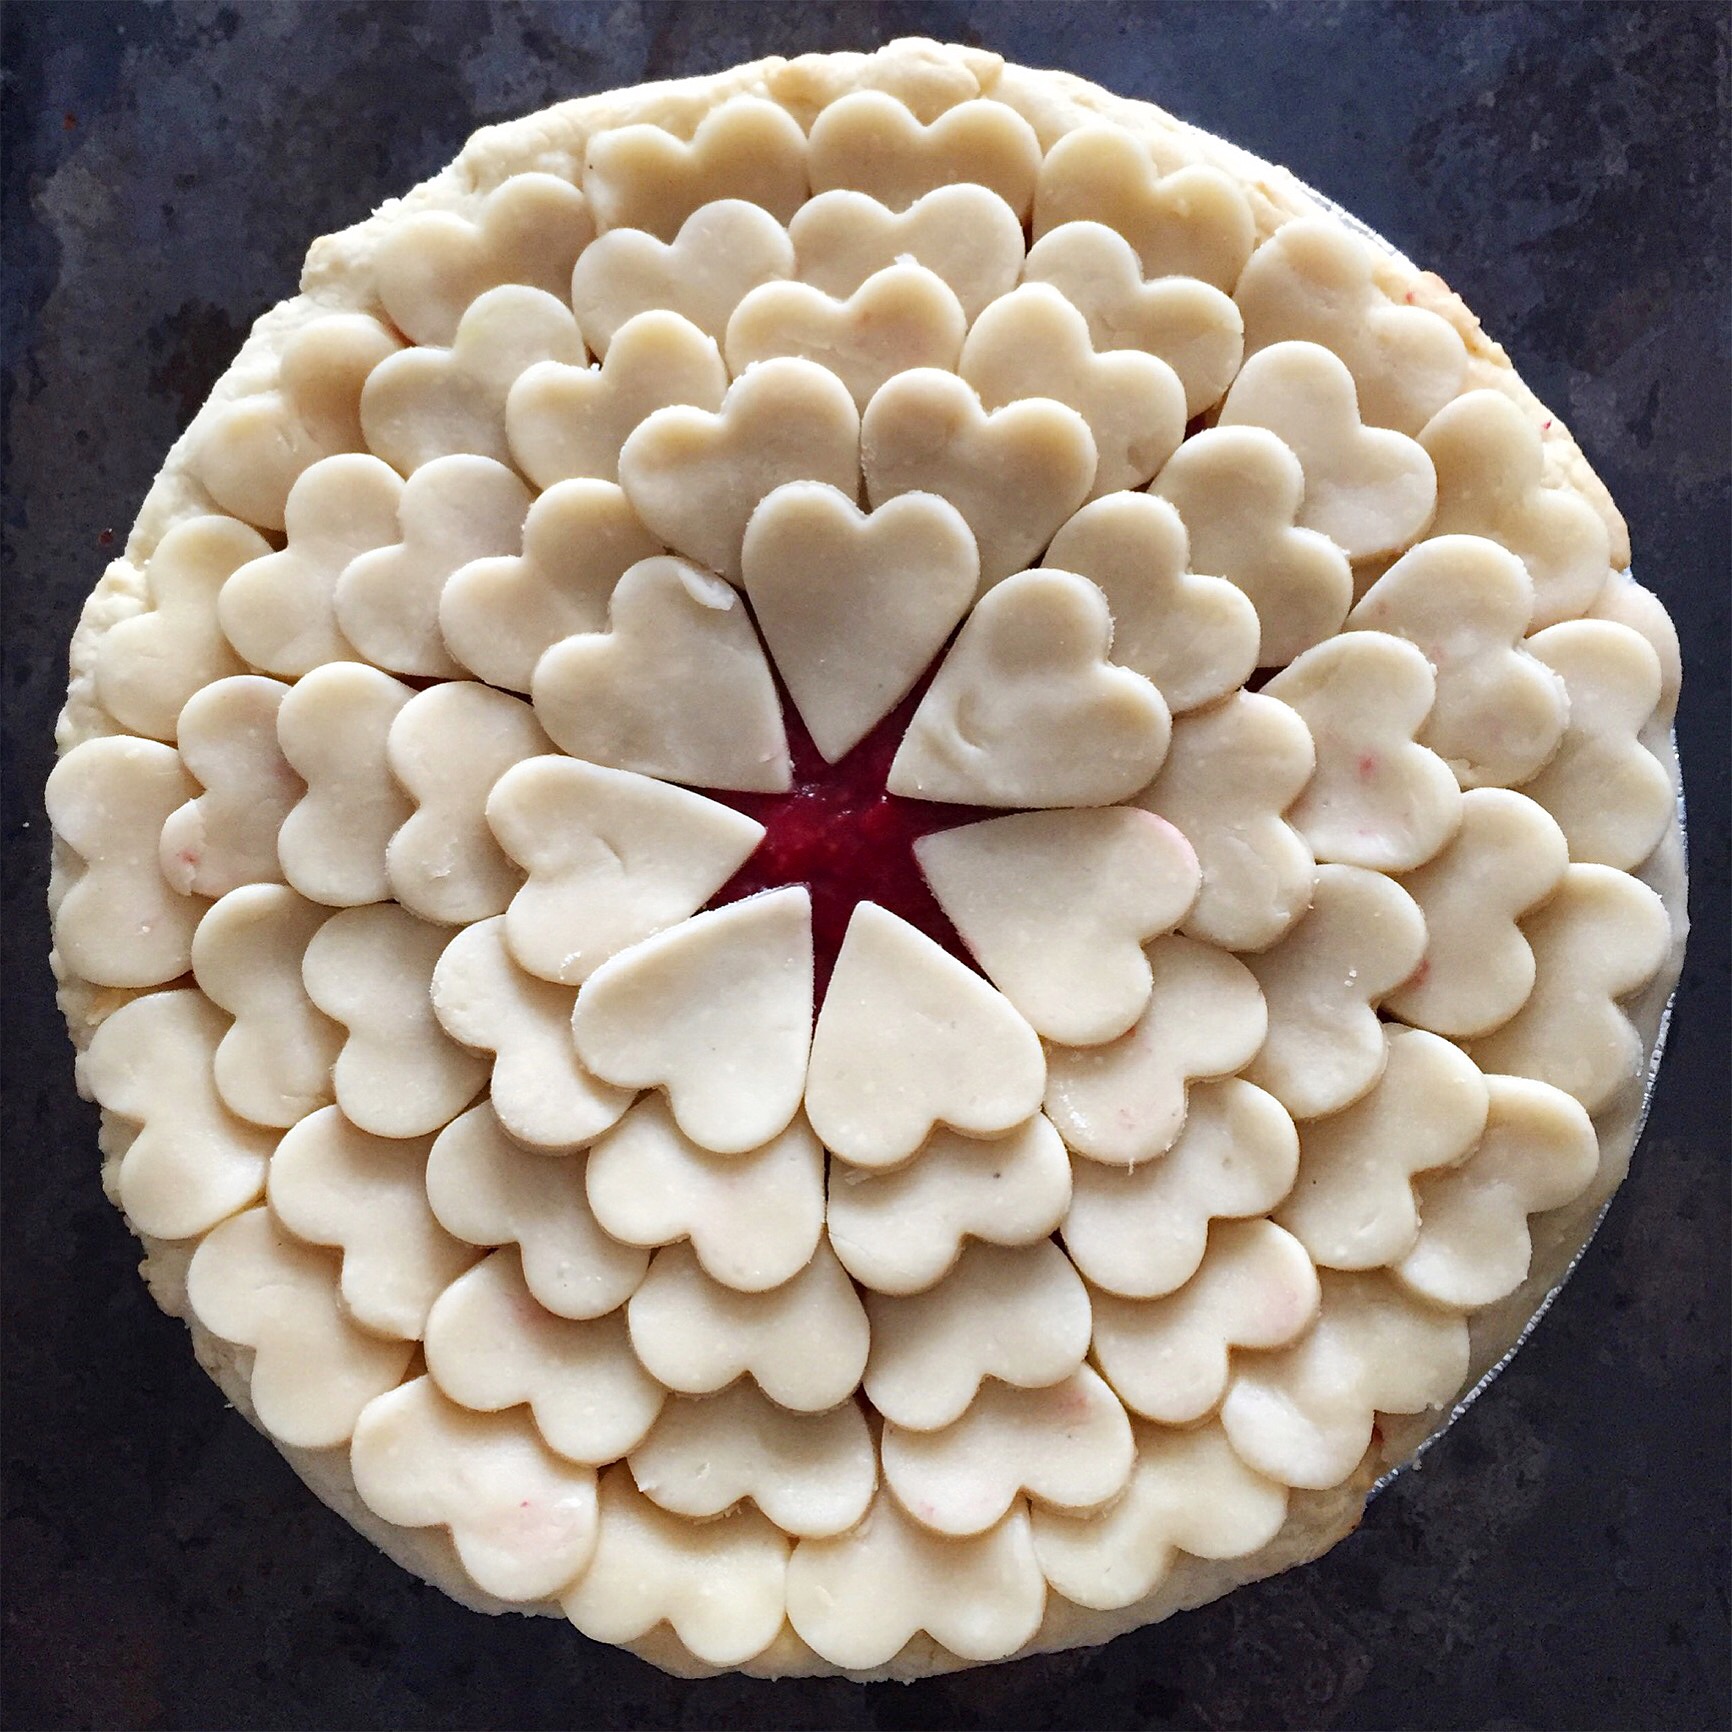
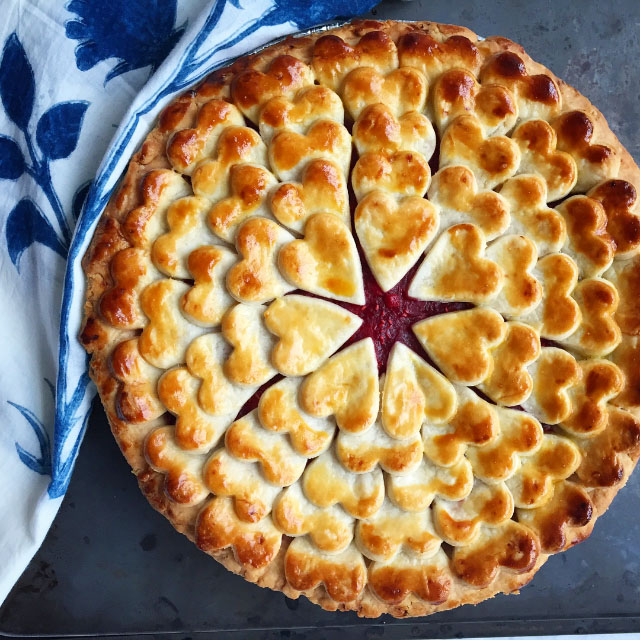
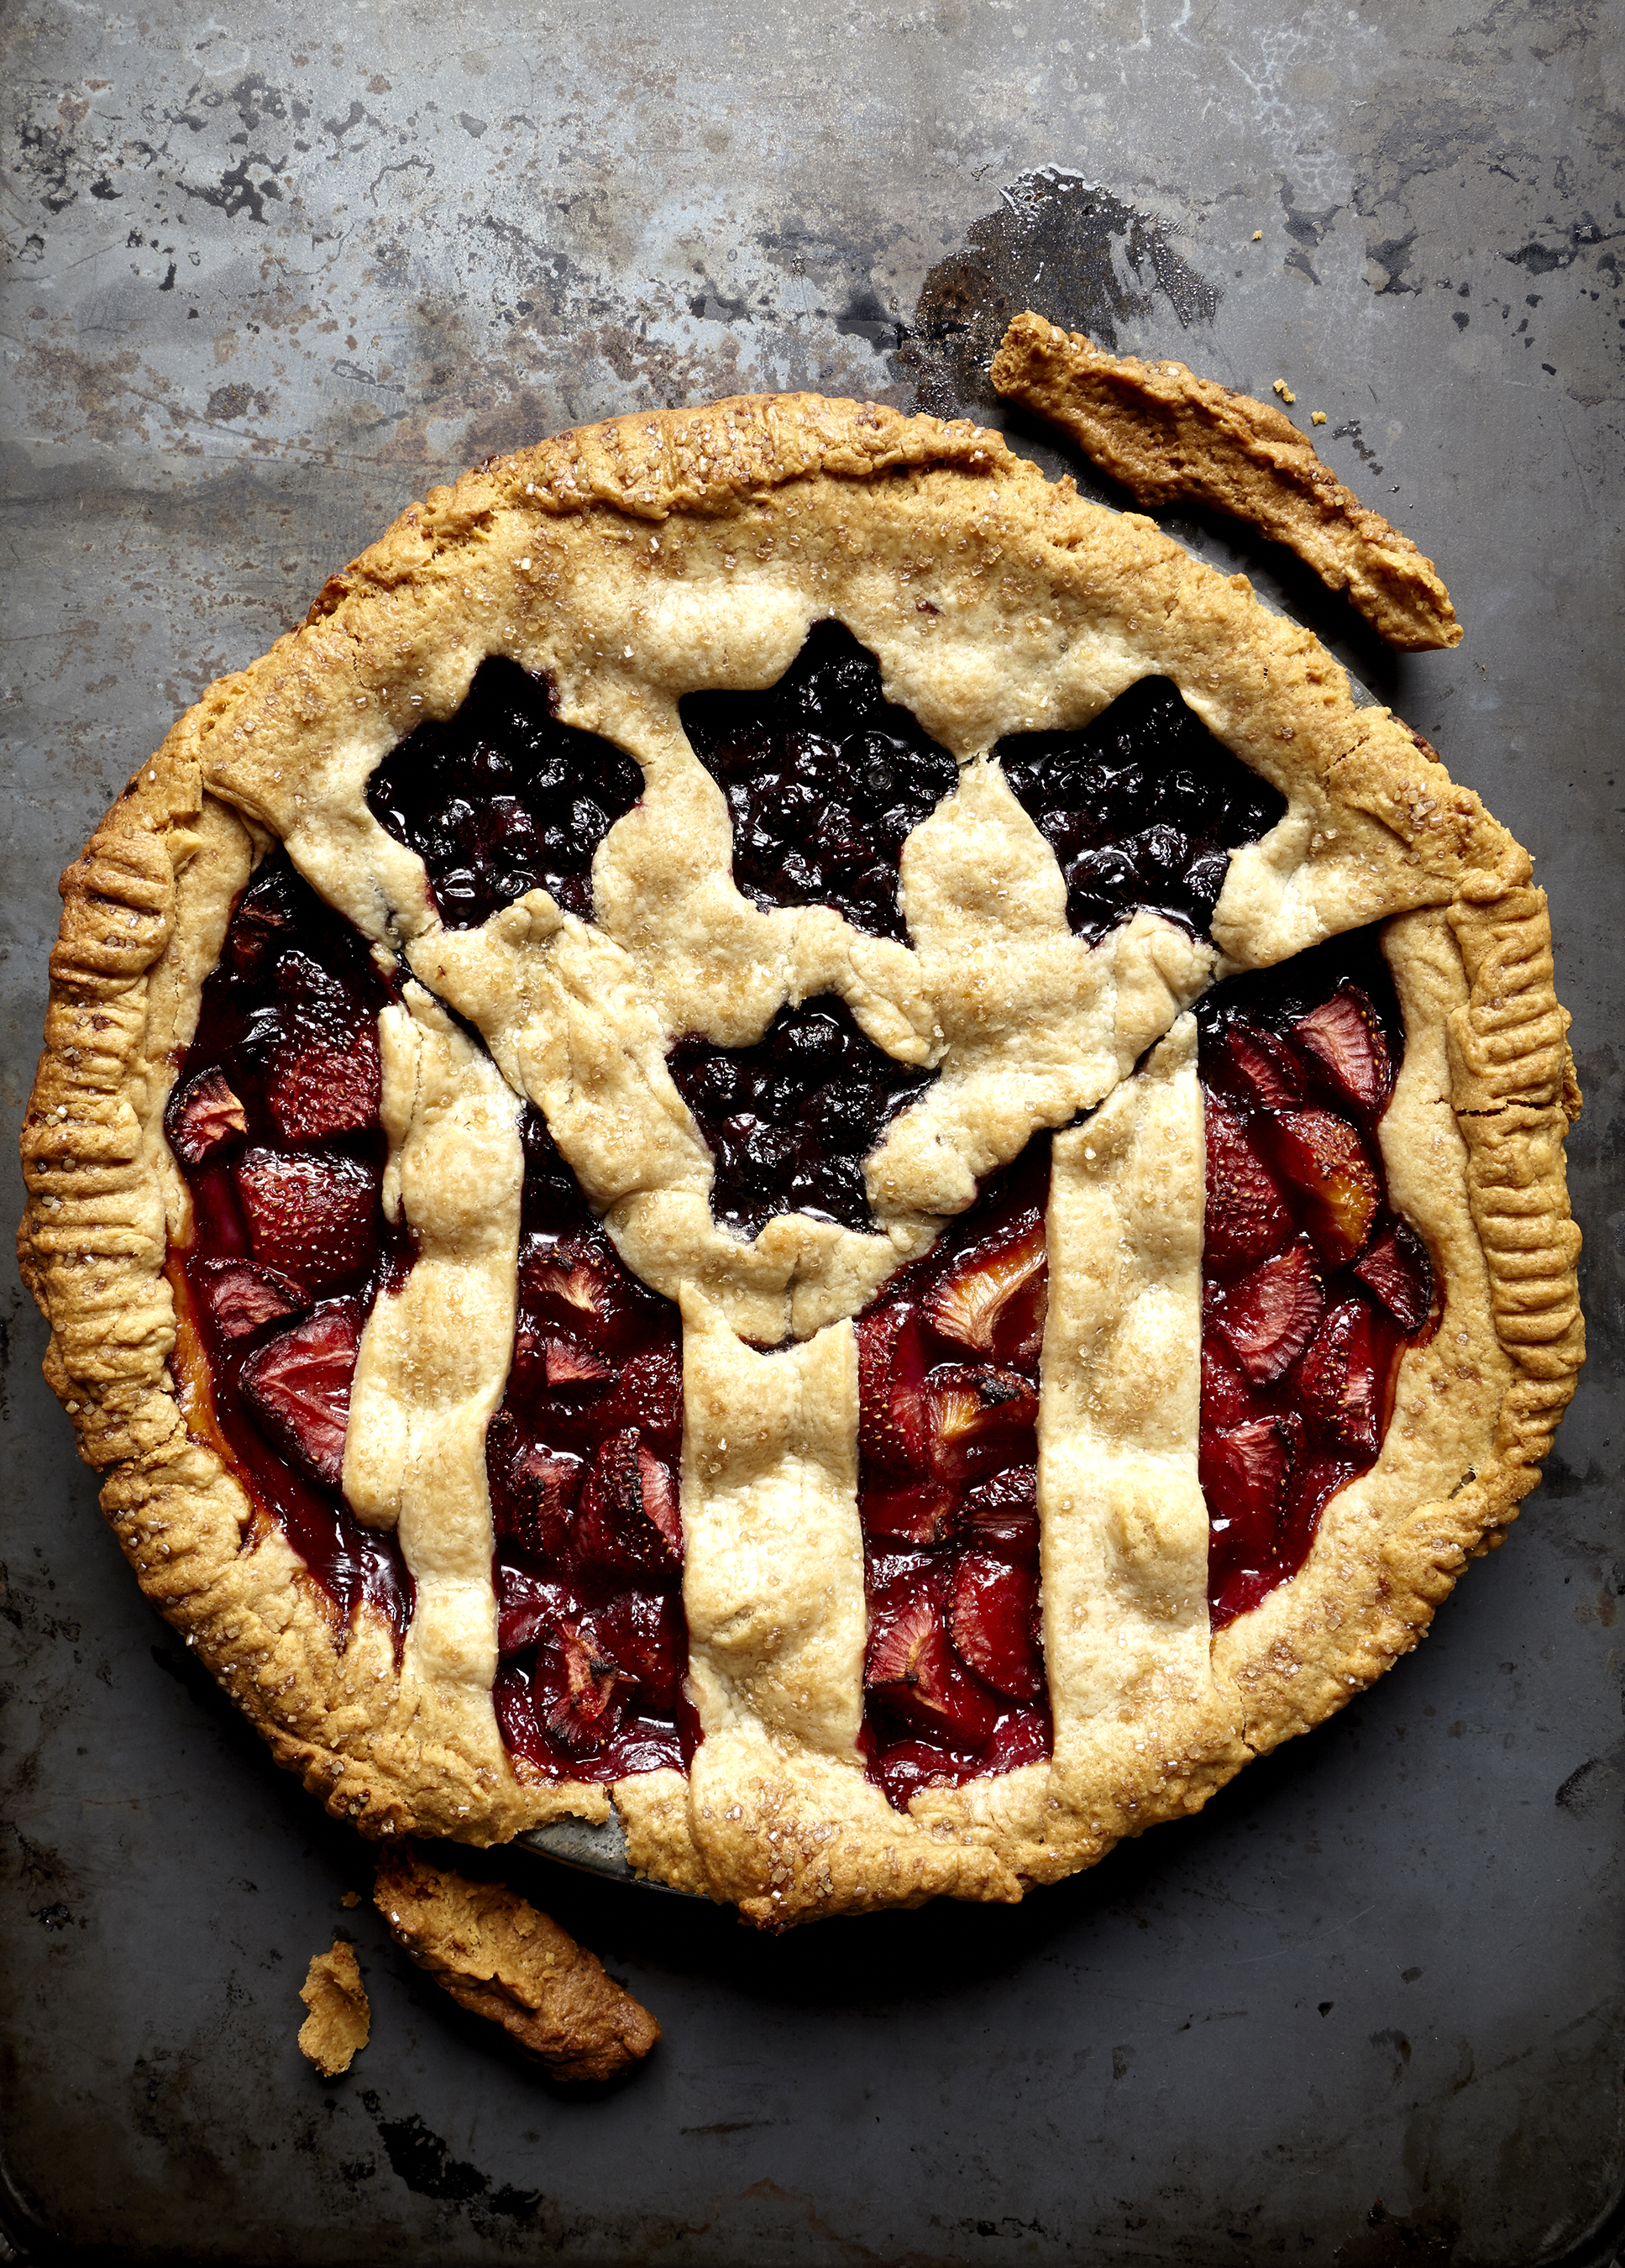
 So here's the thing: I'm sad and devastated about the results of the election last night and what I do when I'm in pain or stressed out, is bake and bake and well, bake. And bake anything. it doesn't matter what, the sheer rhythm or cutting, melding, stirring is therapeutic. I'm calling this the 'healing pie'.. I am terrified about the future under Trump and scared for my Muslim, Black and Mexican friends. Hatred, distain and marginalization have won, and the country will never be the same. I'm deeply disturbed and disappointed in the American public and horrified for the future. For global warming, for women's rights, for my Gay friends who want to still marry. Hold on for the next four years, everyone, it's going to be one hell of a rough and hateful, racist, horrible and deeply embarrassing and depressing ride. So, so, incredibly sad. I cried on 9/11 for the country and then today, 11/9. And no doubt there will be a day in the next 4 years when I'll be crying again. Maybe when the new president builds that dumb stupid wall or starts hauling immigrants out of their homes for deportation. Yes, probably.
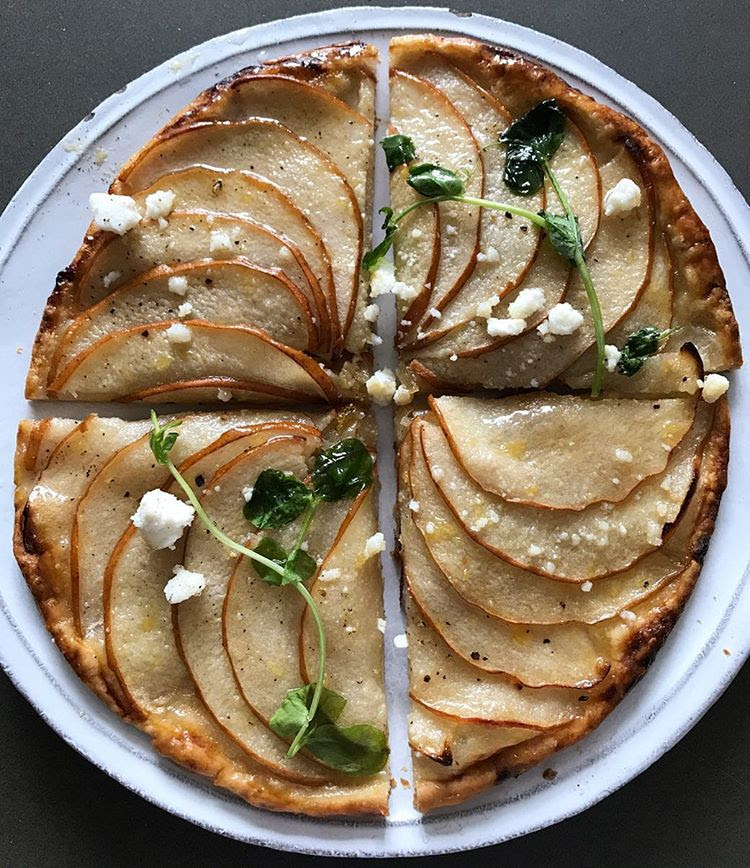
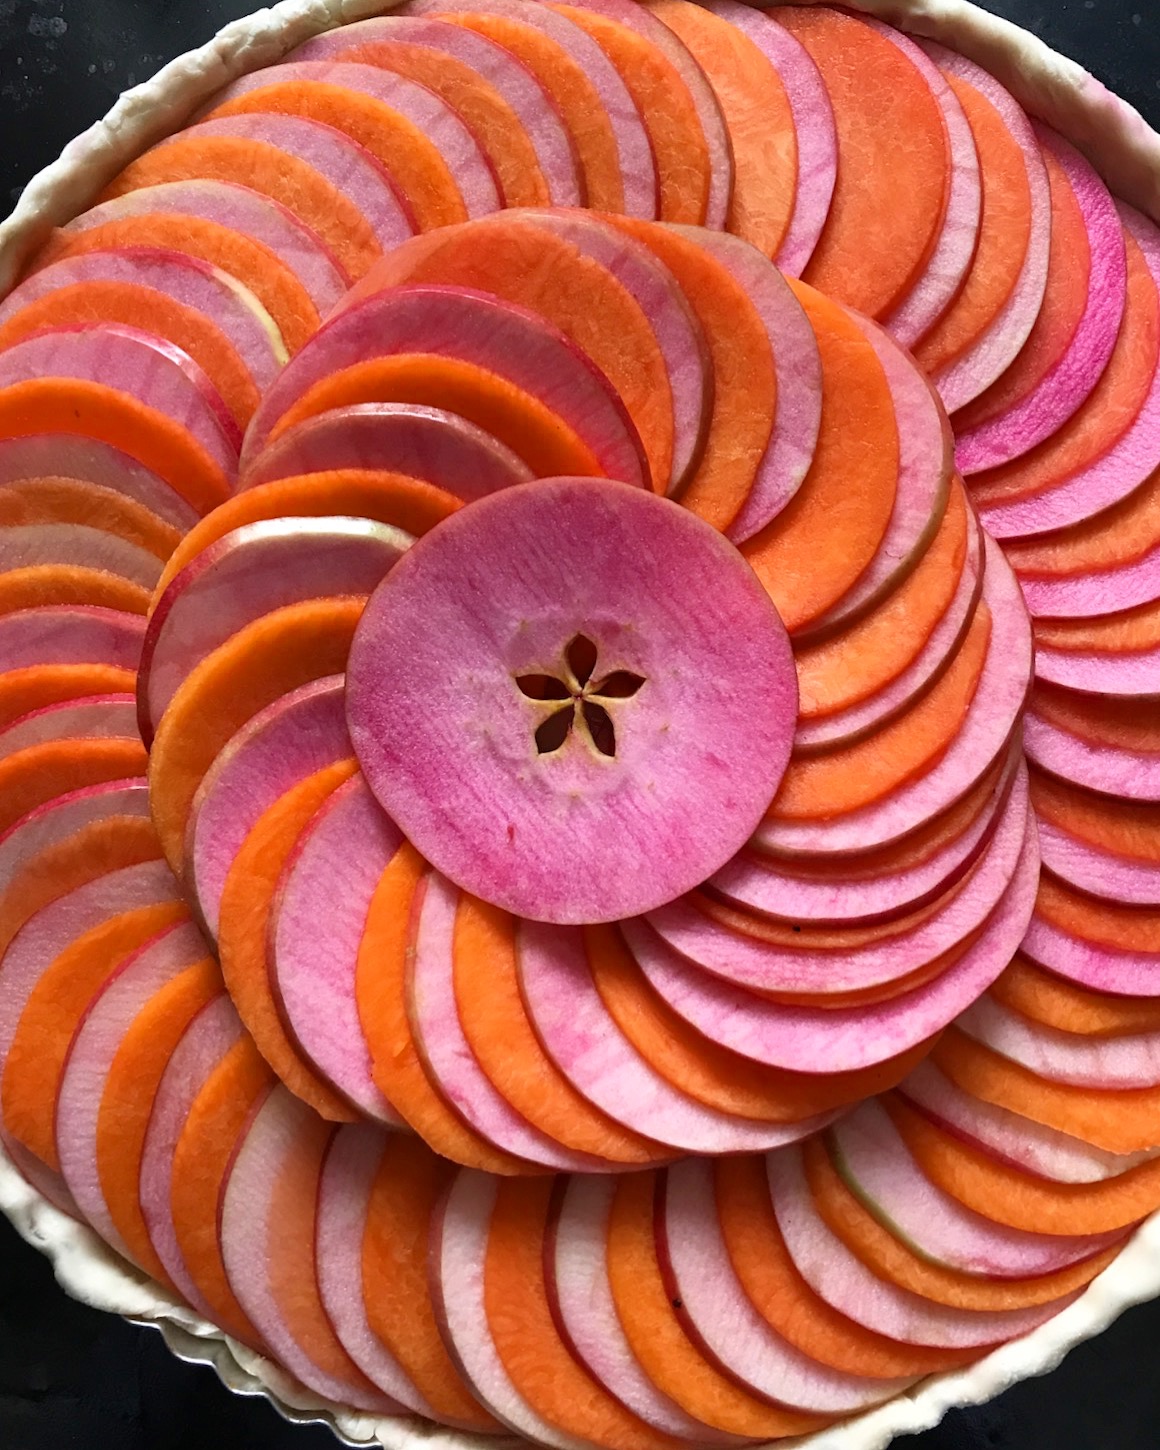
Ideas come from many places and so I credit @finecooking and @cannellevanille for the inspiration for this lovely pear tart. As you know if you asked about five food stylists to make the exact same recipe, using the exact same ingredients, each one would look different and taste different and that's the way it should be. Please feel free to improvise with whatever you have on hand to make it your very own pie!
You'll need: A springform tart tin, with removable bottom. Parchment and blind-baking weights. 4 firm-ish but ripe Bartlett Pears, about half-a-cup of shelled Pistachios for the dough and also later for garnish, a savory Jam or Jelly of your choosing. You'll also need staples like All Purpose flour, Unsalted butter, Salt, Sugar and Honey.
Make the dough: In a food processor combine 1 cup of all purpose flour, and 1 stick of butter, (cut into small pieces ). Pulse. Add a heavy pinch of salt, 2 teaspoons of sugar, 1/3 cup of shelled pistachio nuts, and pulse till dough resembles small pebbles. Add iced water (start with 2 tablespoons, add more as necessary). Pulse again till dough starts to clump, and pulls away from the edges. Remove. Shape into a disc, cover with plastic and refrigerate for at least a half hour.
Remove dough from fridge. Roll the dough into a 1/8th-inch-think round. Coax into the buttered pan and press dough up the sides about 1 inch. It doesn't need to be perfect. Place back in the fridge for another 20 mins. (Or freeze for 10 mins.) Preheat oven to 400 degrees F.
Line the crust with parchment paper and fill it to the top with beans or weights. Bake until the edges are golden brown (around 15 to 20 mins) Remove weights and paper. Bake further till center begins to color and pie looks to be about 95 percent cooked. Remove from oven and set aside to cool. Release spring form pan, leaving dough still sitting on base. Spoon Jam onto base liberally in an even 1/8th-inch coat. (Note, I had Balsamic Garlic and Herb Jam from Terrapin Ridge Farms on hand, click here for details. but you can use whatever you have. I opted for more of a savory jam, but feel free to experiment.)
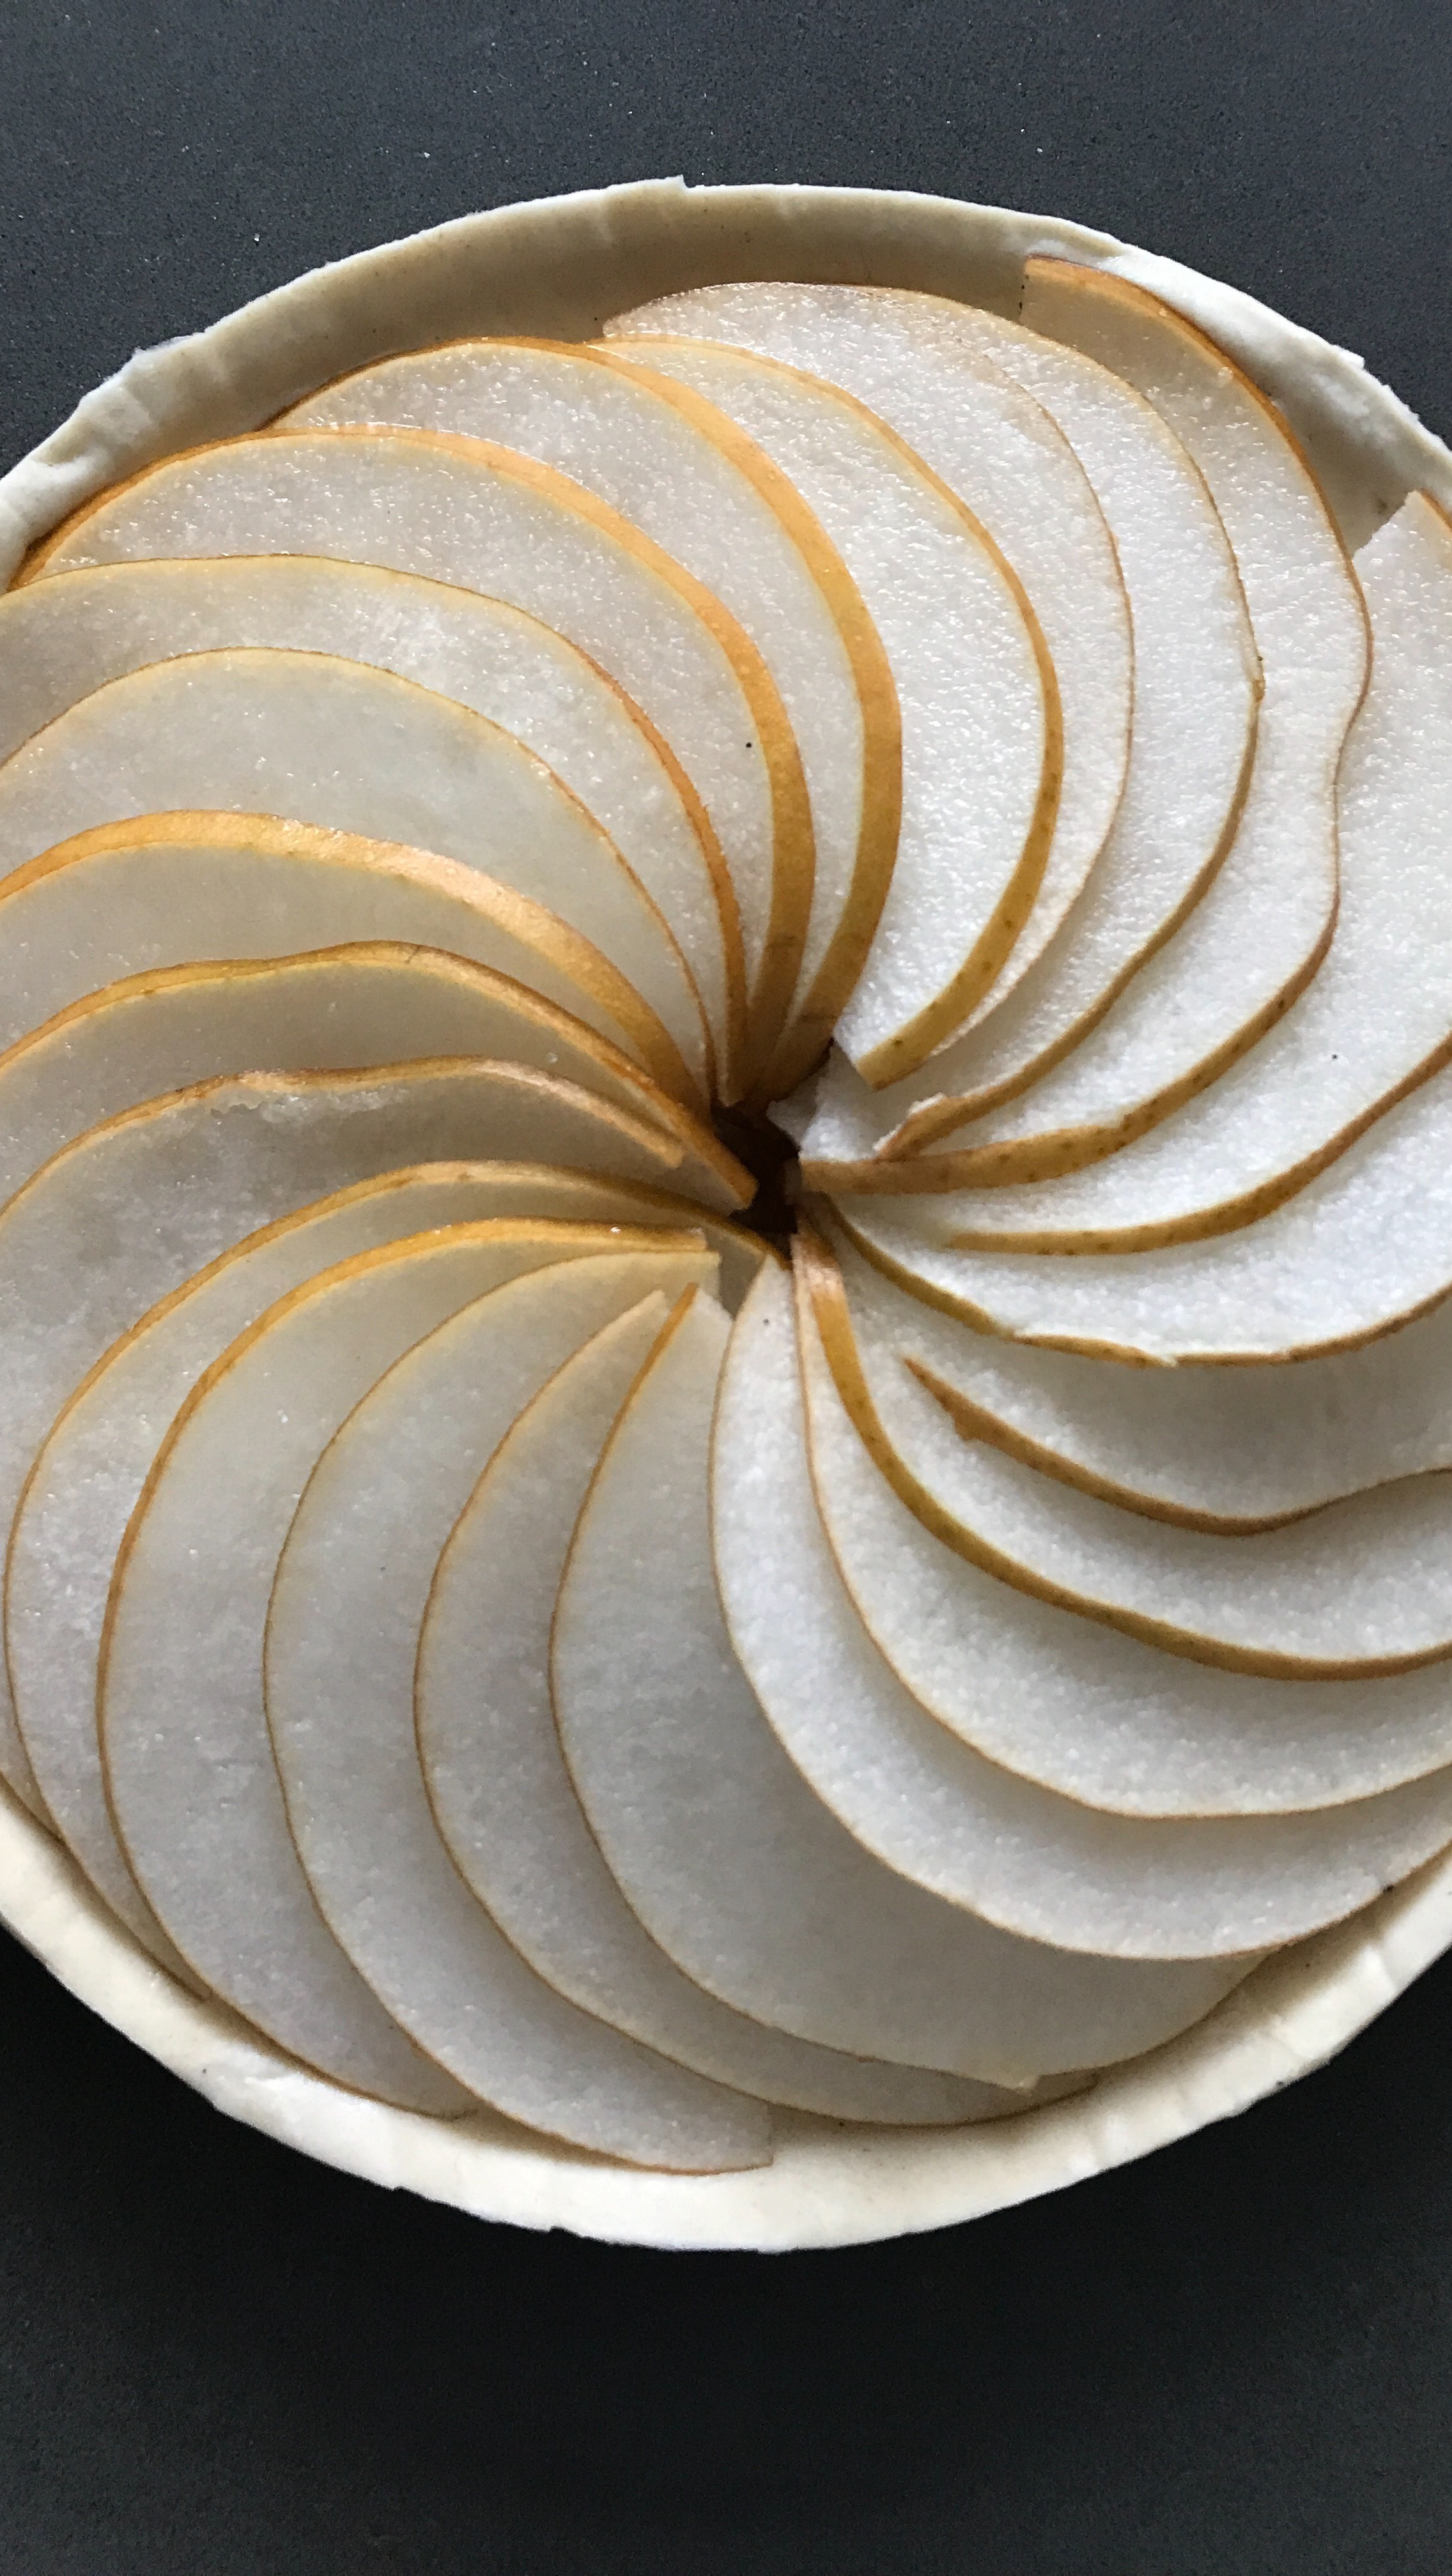
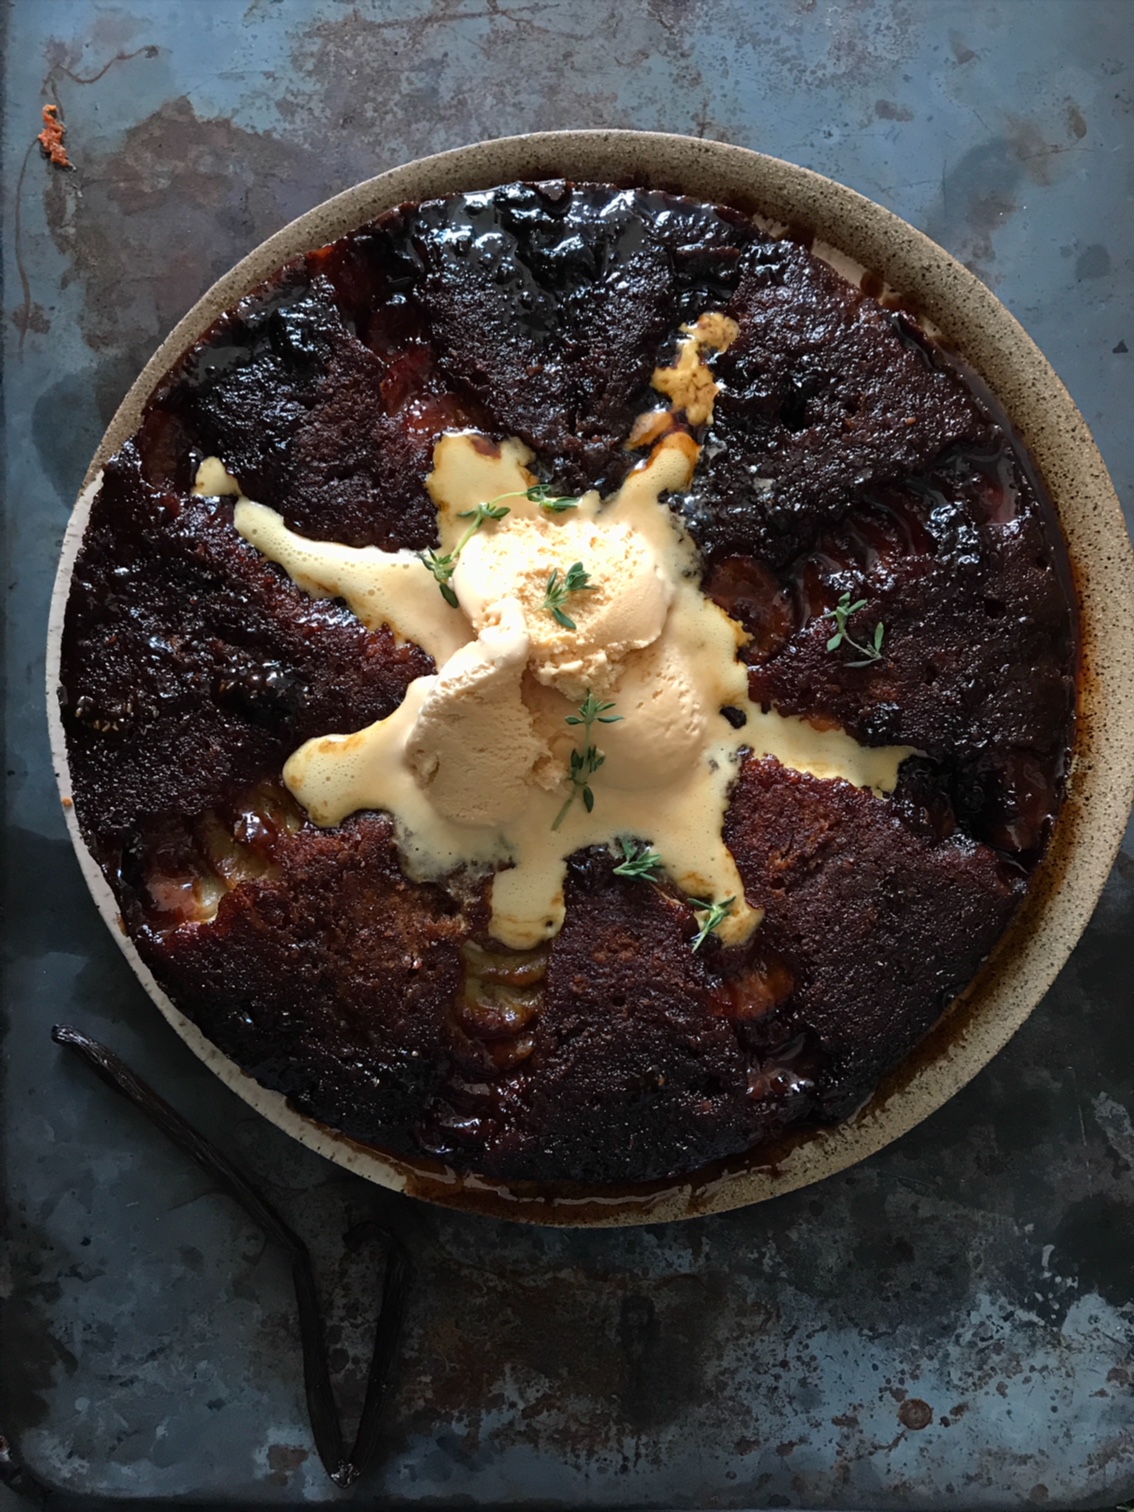
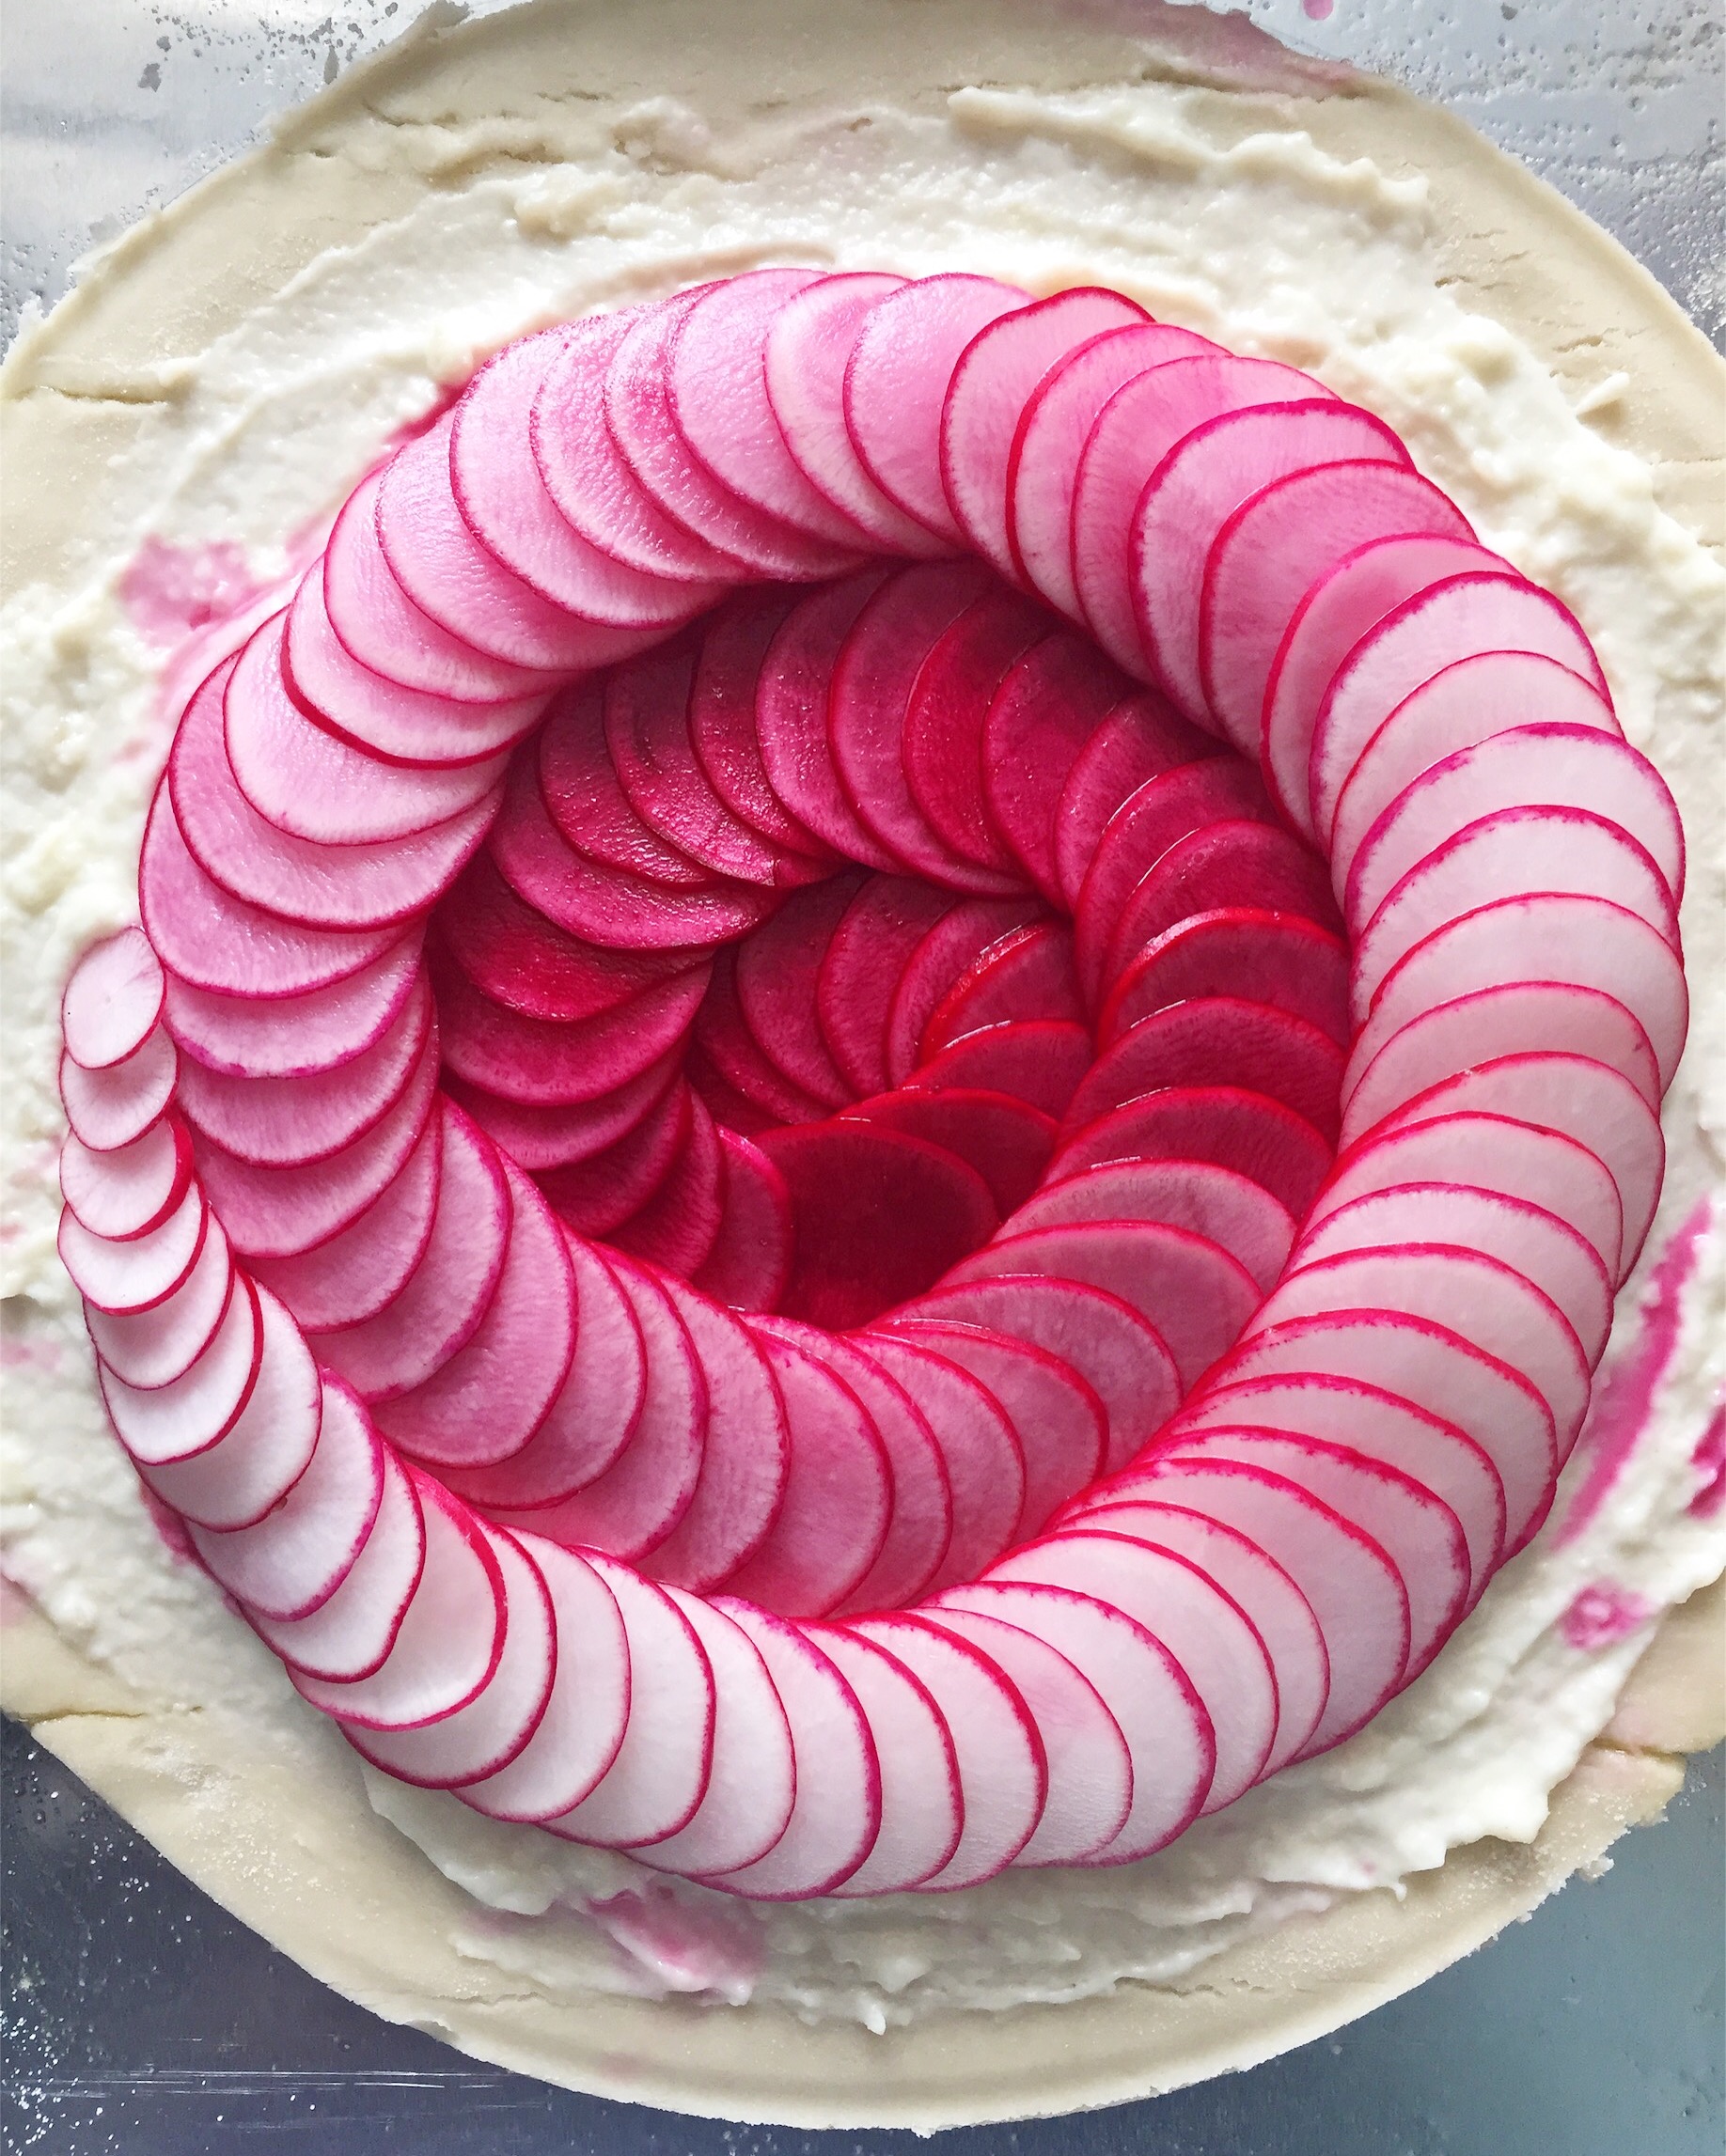
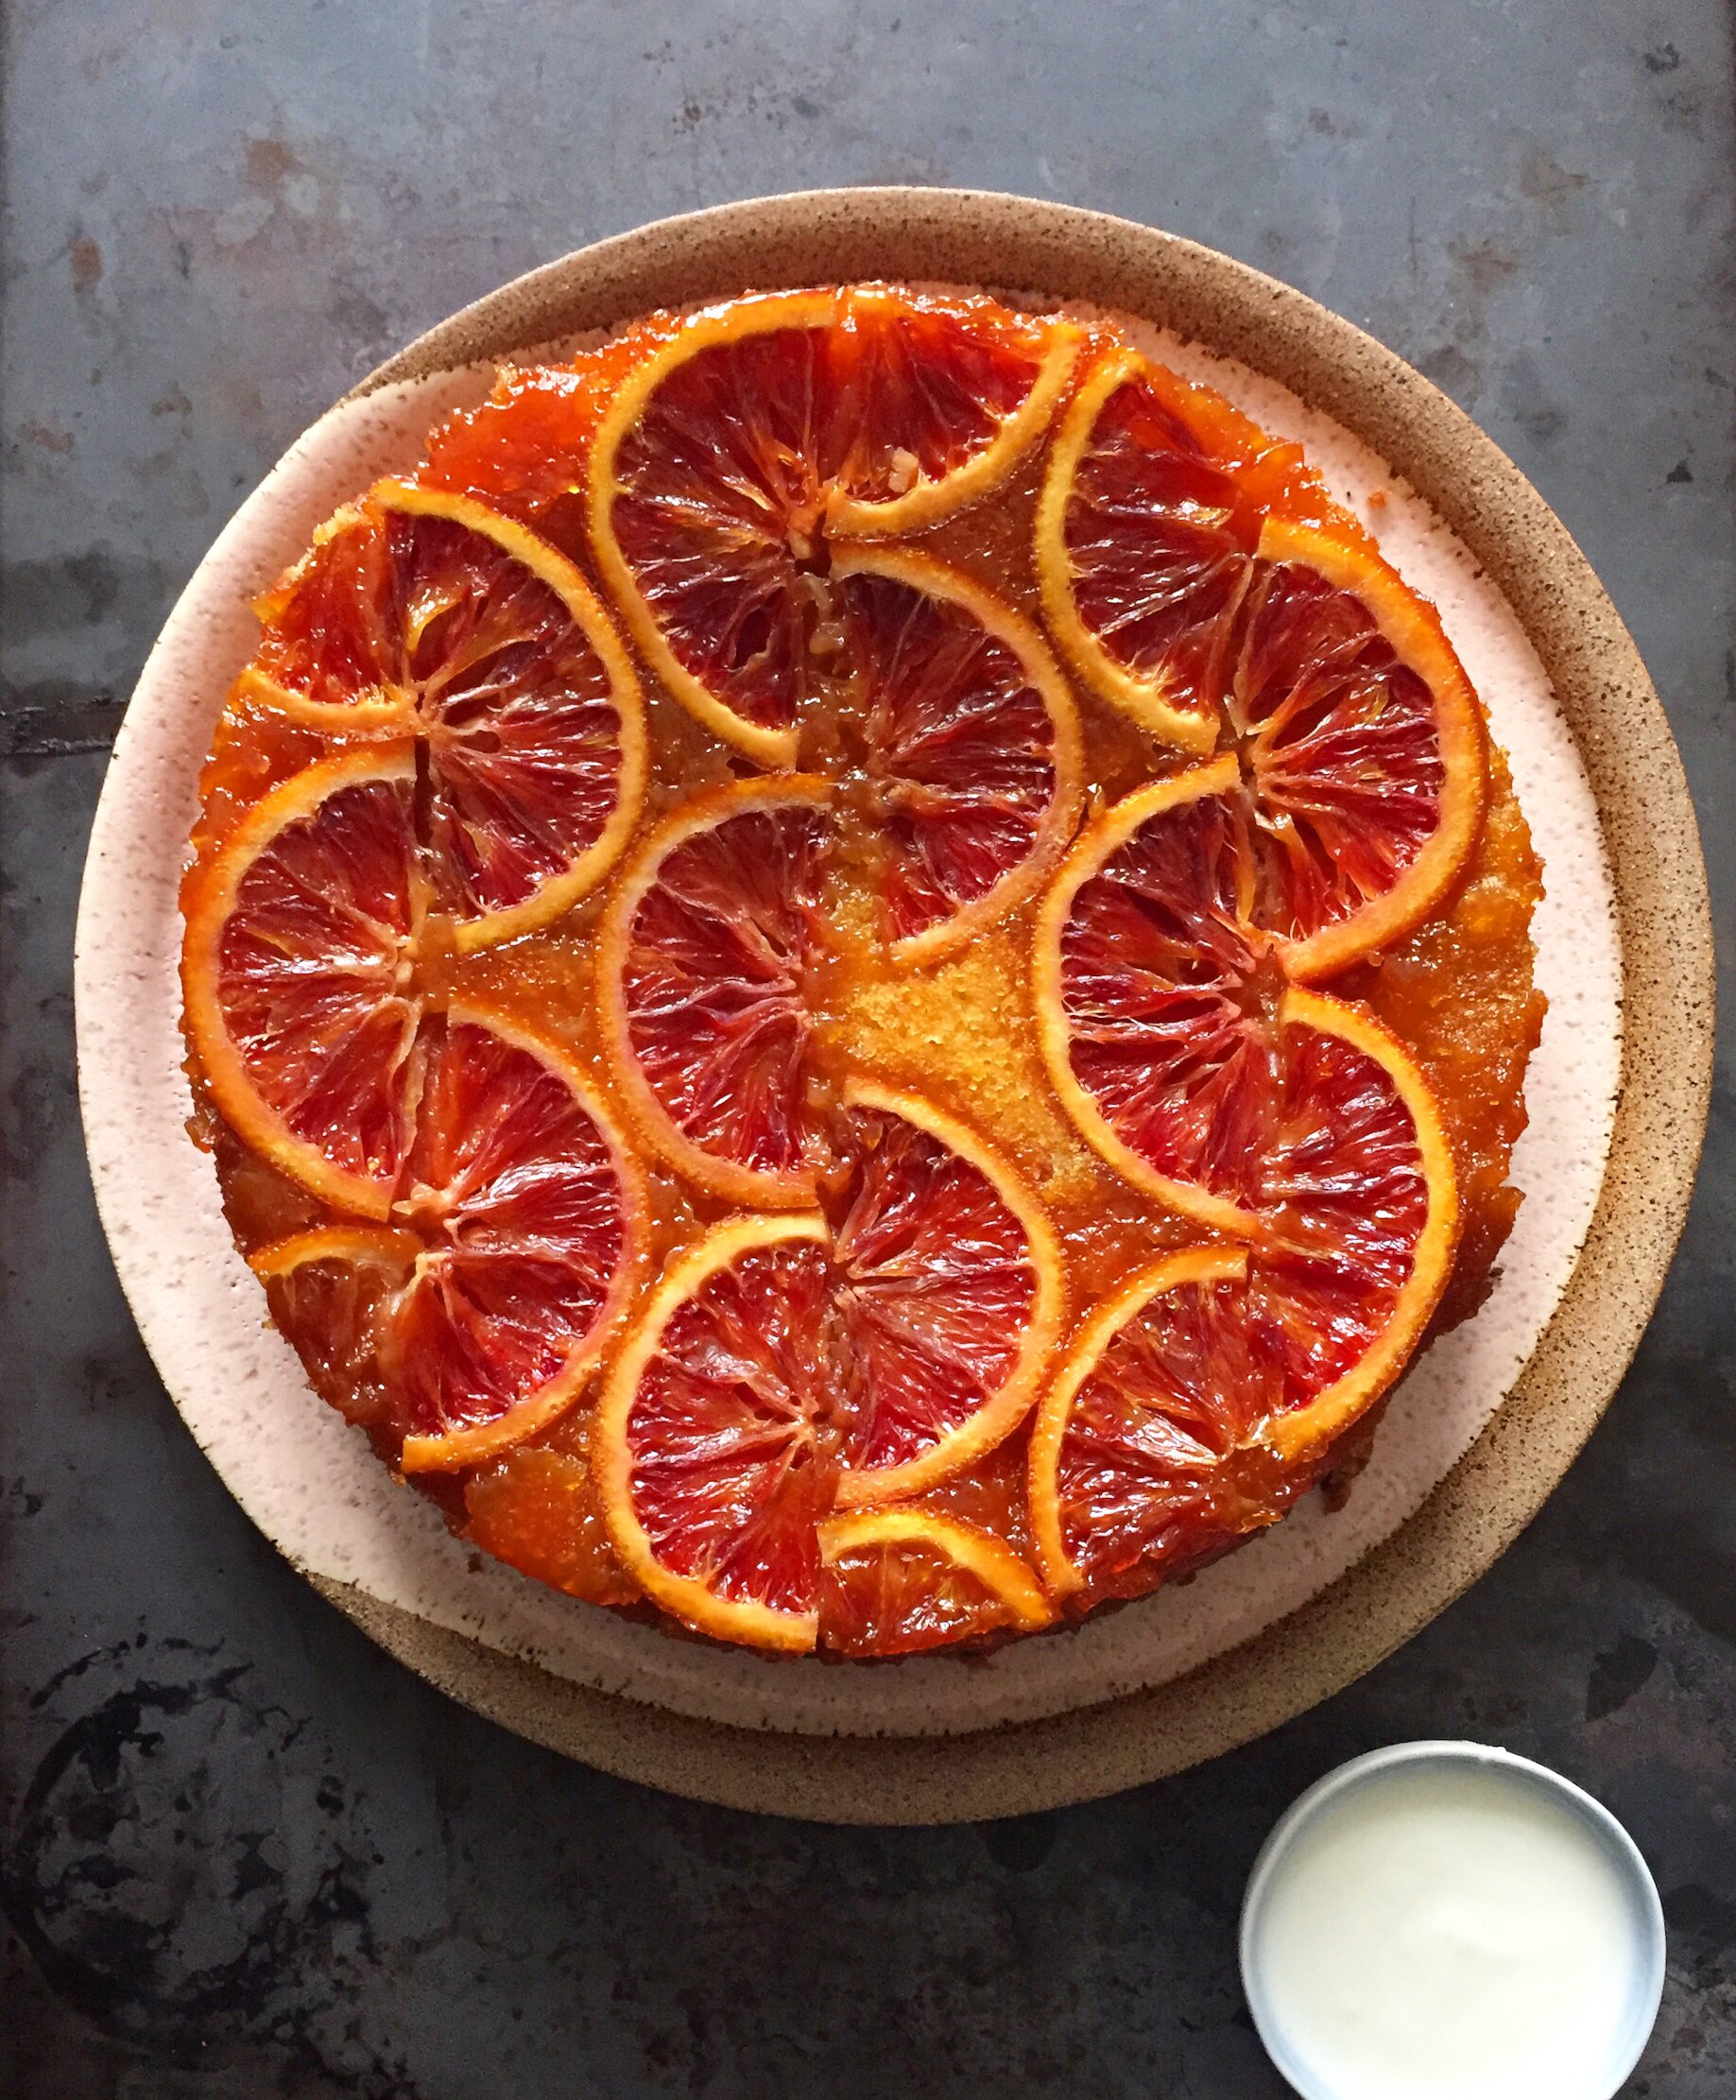
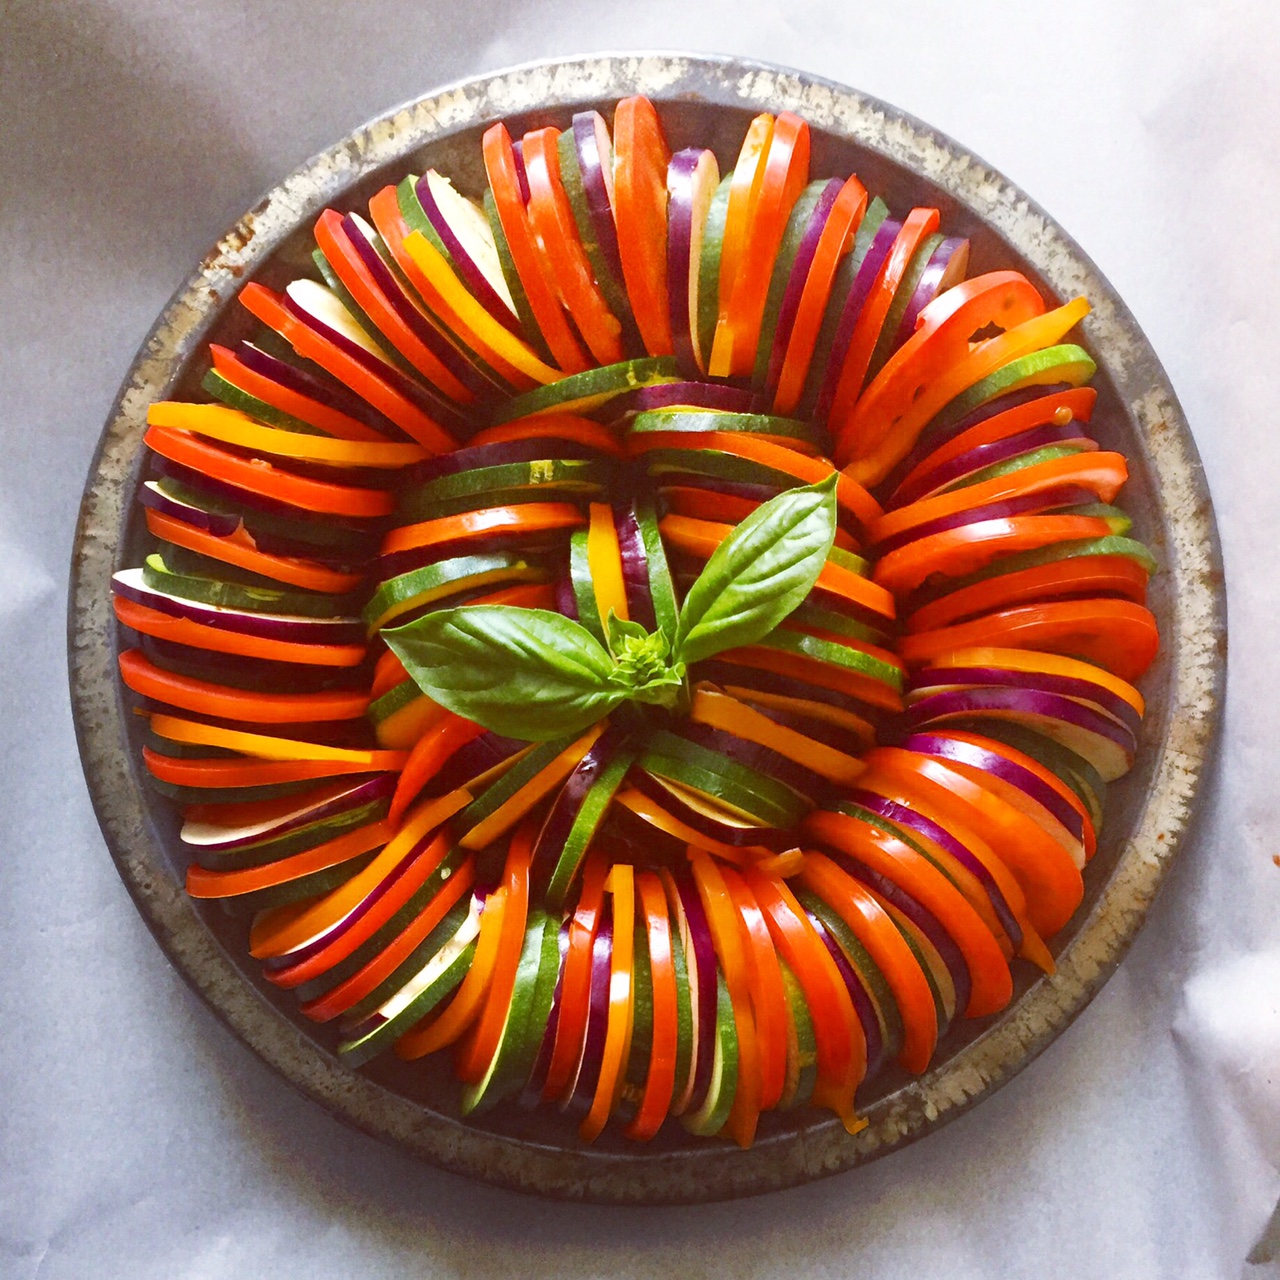
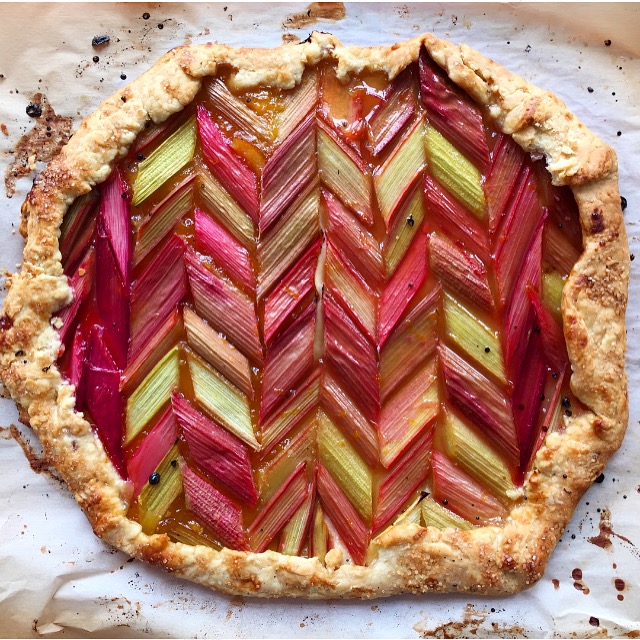
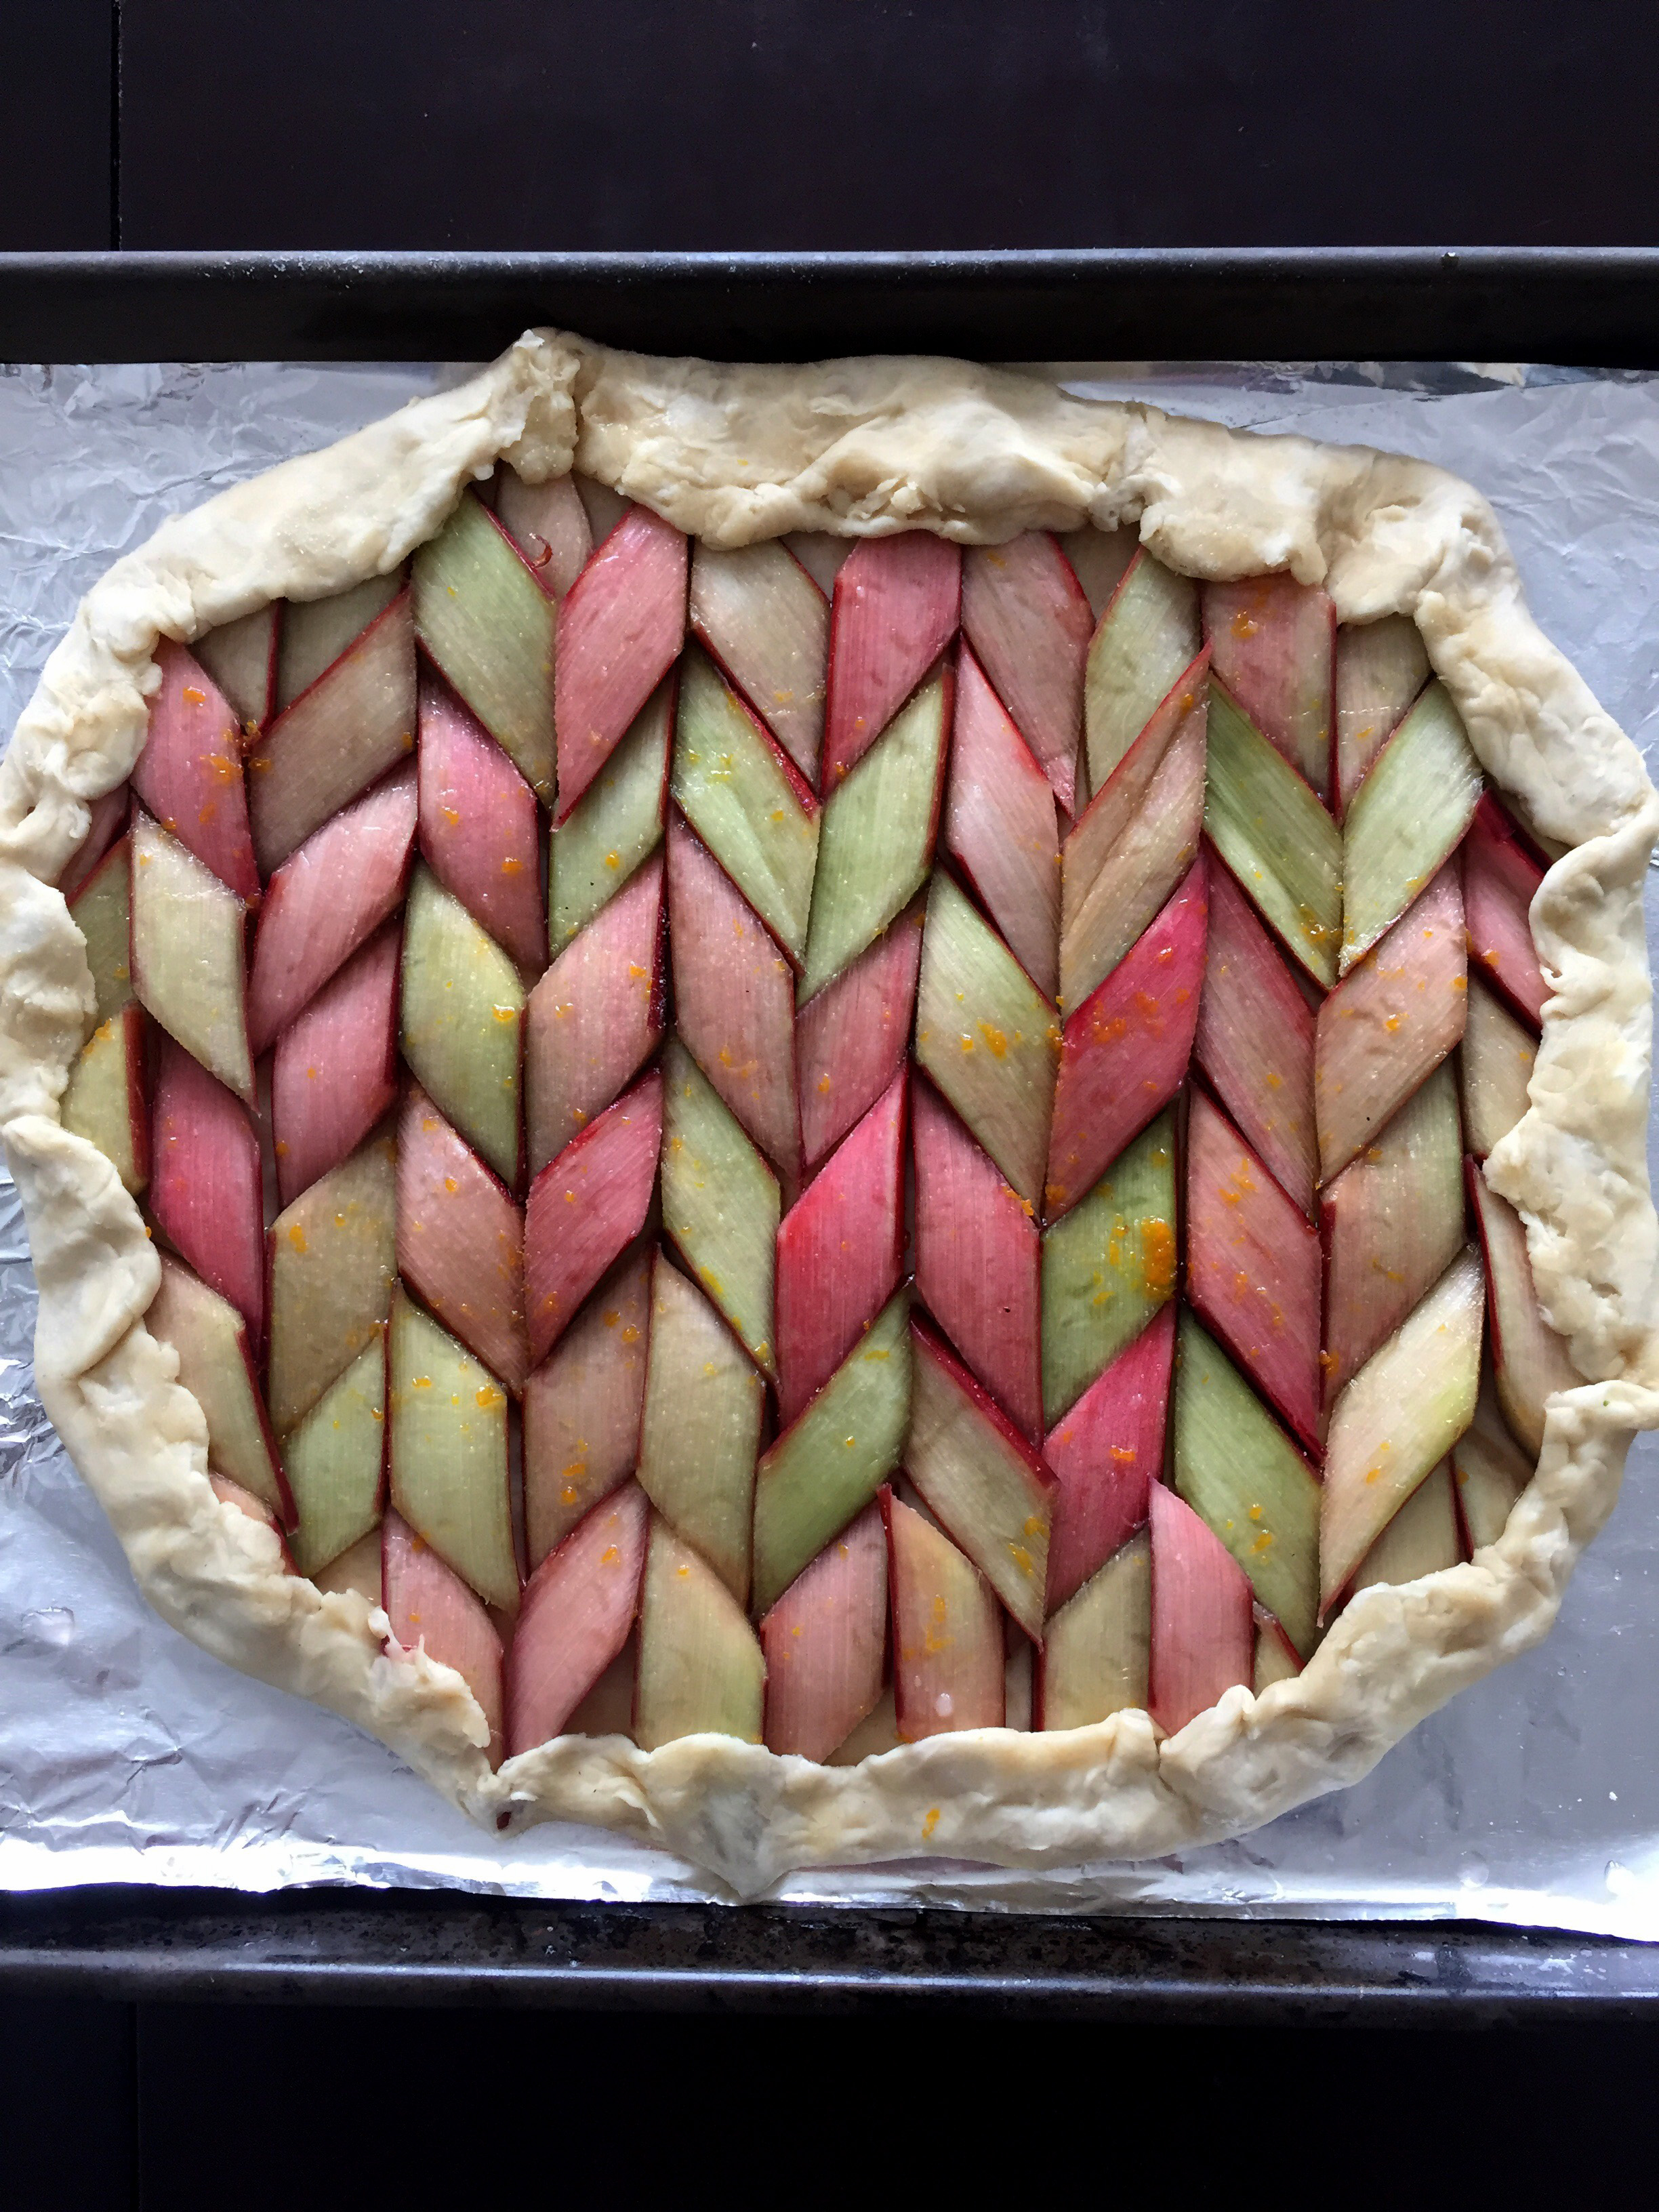
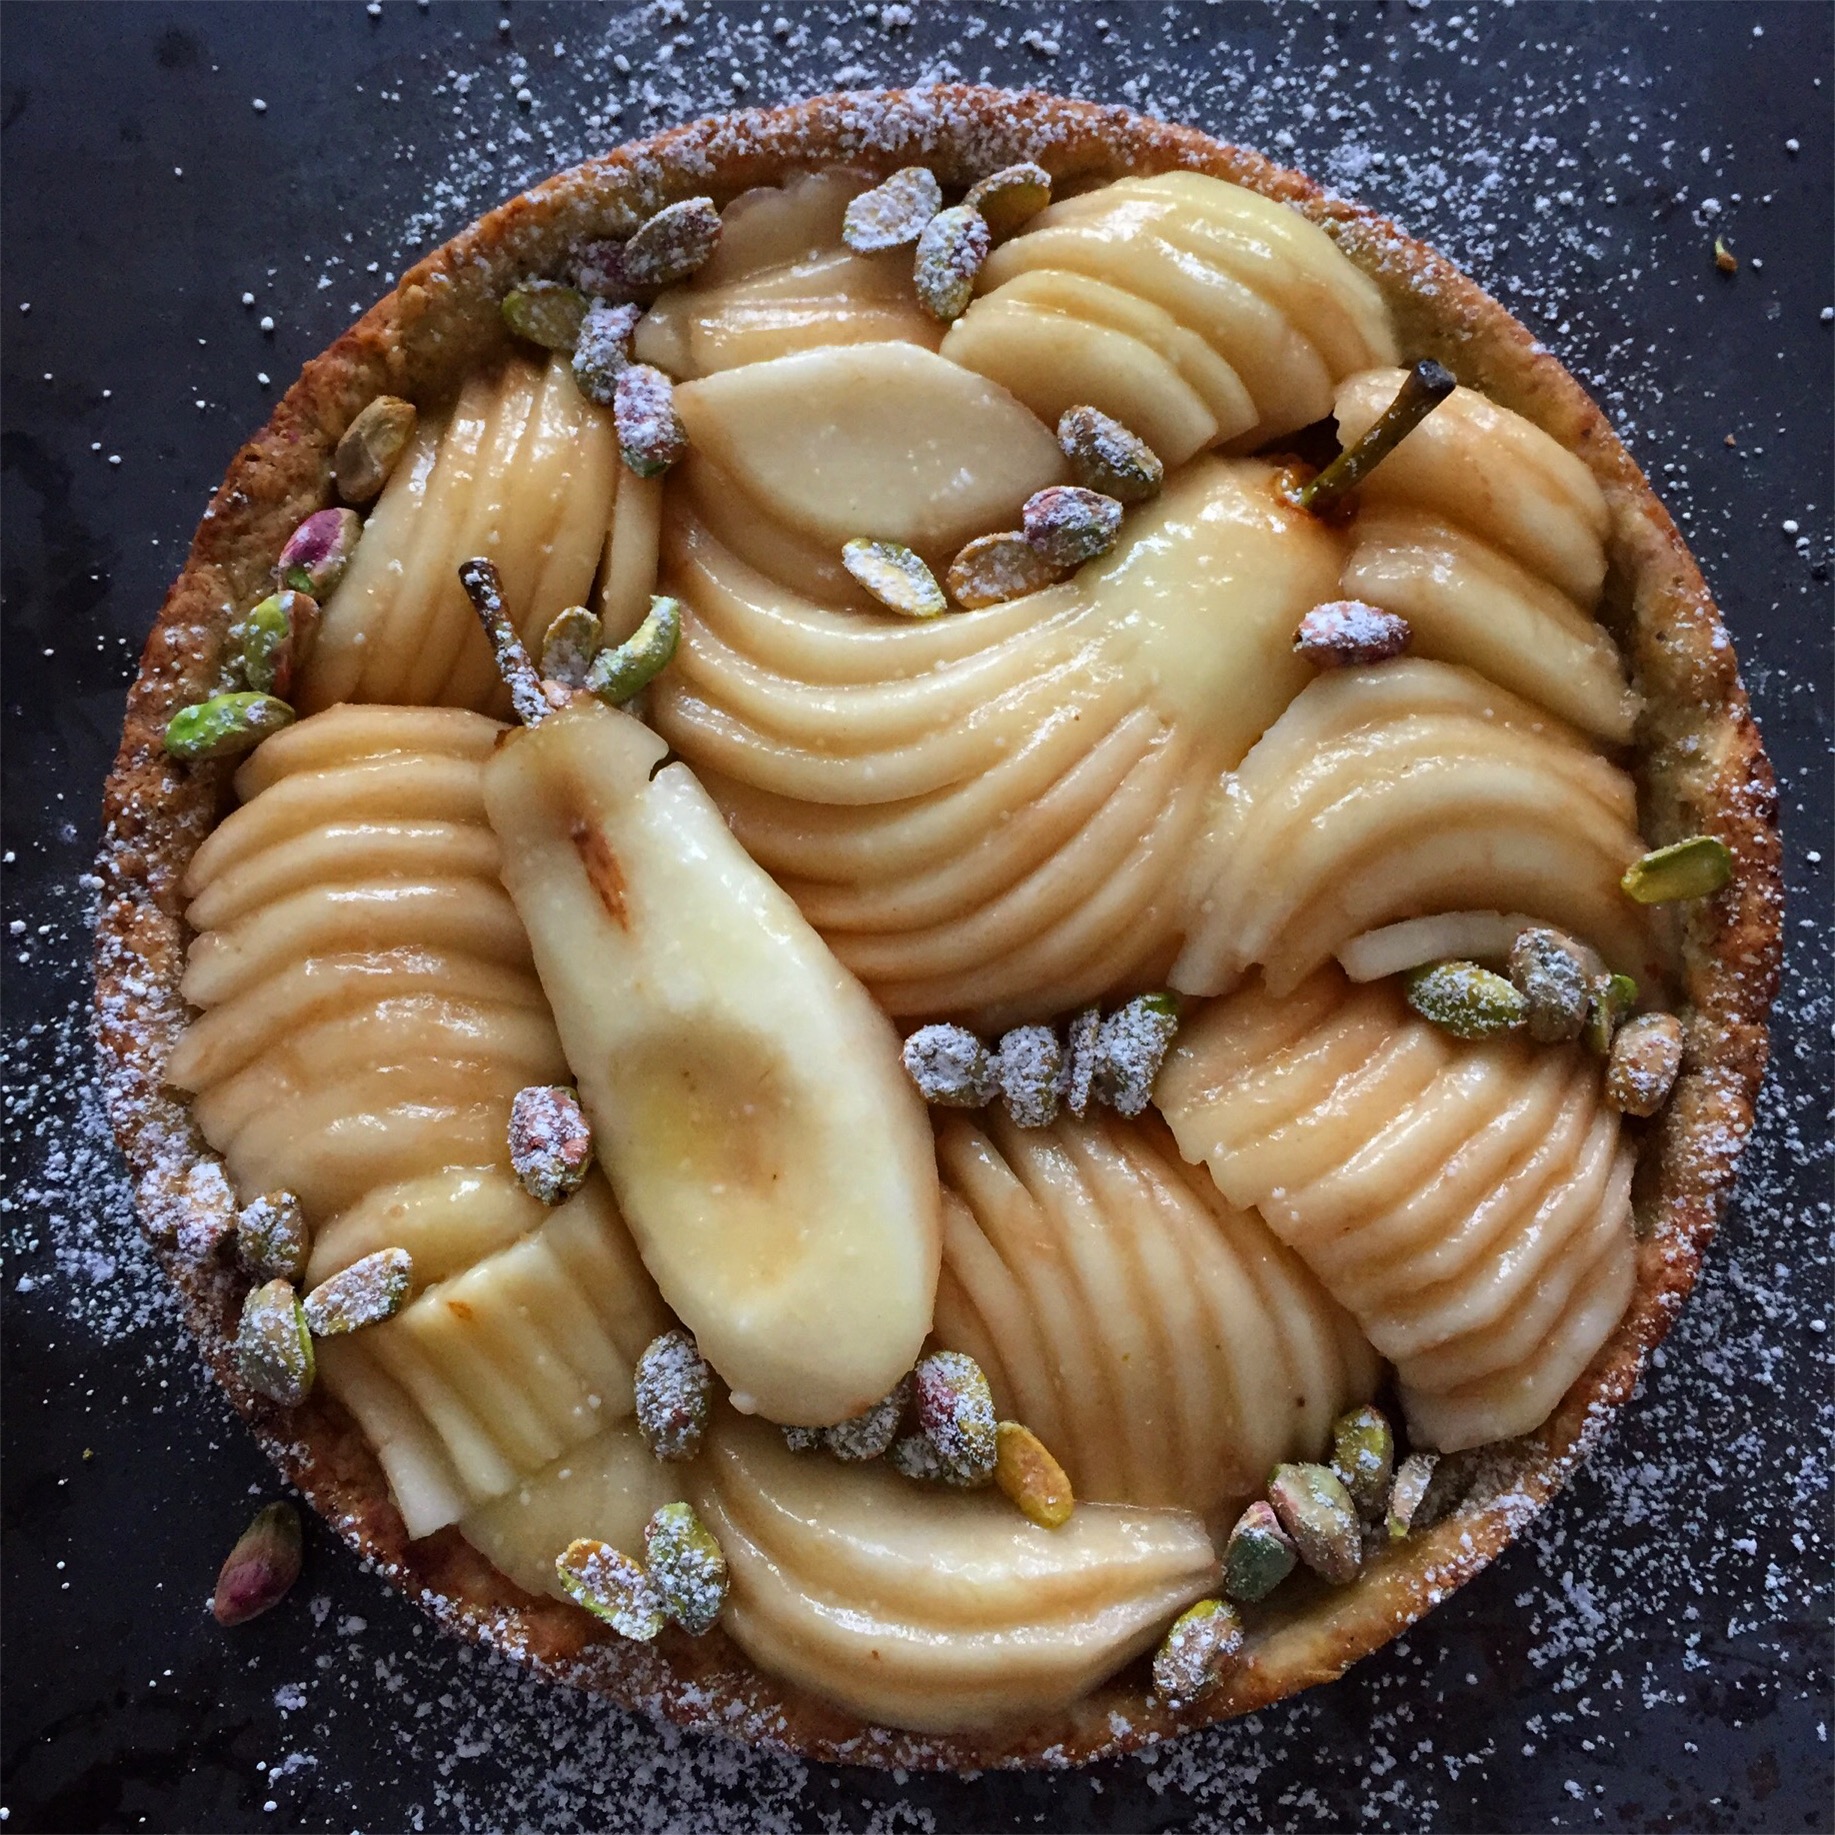
Assemble: Peel, half, and core and slice 1 Bartlett Pear. Repeat with 3 other pears. Assemble pears onto the baked crust. Fan them out to create a pattern of your choice. You need to work fairly quickly but don't stress. The pears will begin browning but that's Ok because you will be covering them with Honey Butter. The sticky jam will help hold them in place. Melt about 3 tablespoons of Honey in a heavy based small saucepan with about 2 tablespoons of unsalted butter on low heat. Brush pears with buttered-honey. Place back in the 400 degree oven for about 6-10 minutes or until the top starts to caramelize, the kitchen should smell lovely. and the pears are warm-to hot right through. Test with a skewer if you are uncertain. Remove. Scatter with whole pistachios for garnish, sprinkle with powered sugar. Serve straight away with sweetened cream or good quality Vanilla ice cream.
Making this pie? Make sure you tag me on Instagram so I can see. @dimityjones.
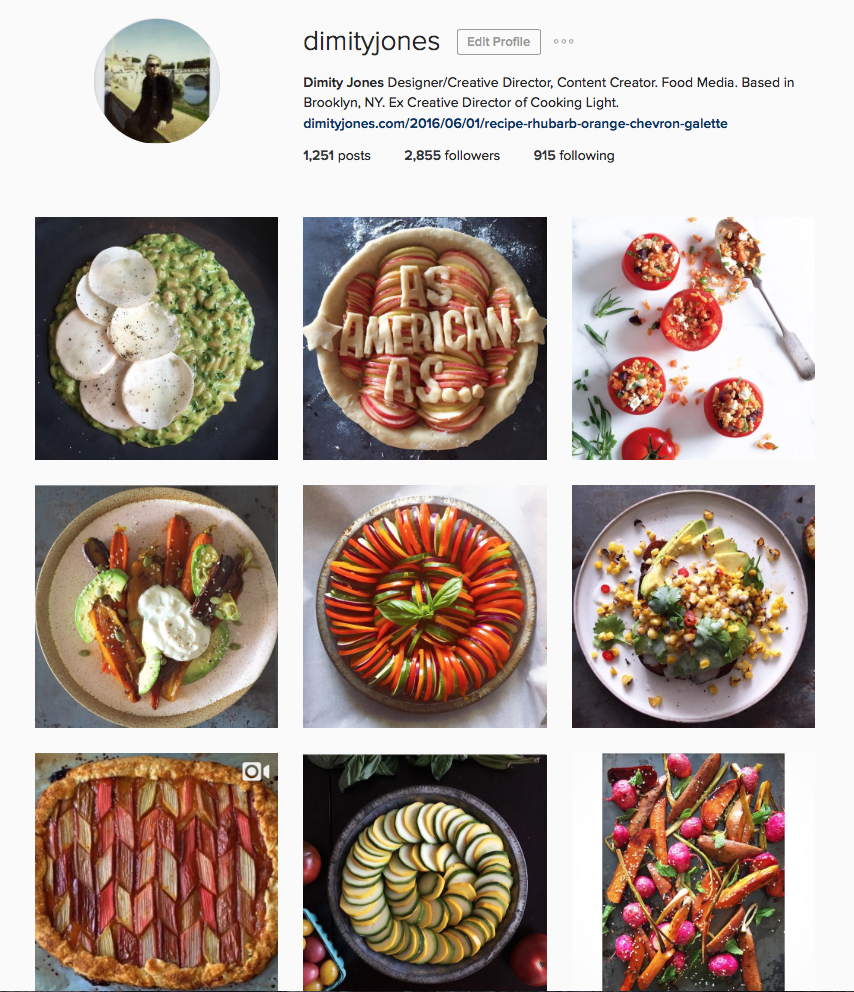
Check out my Instagram feed here.